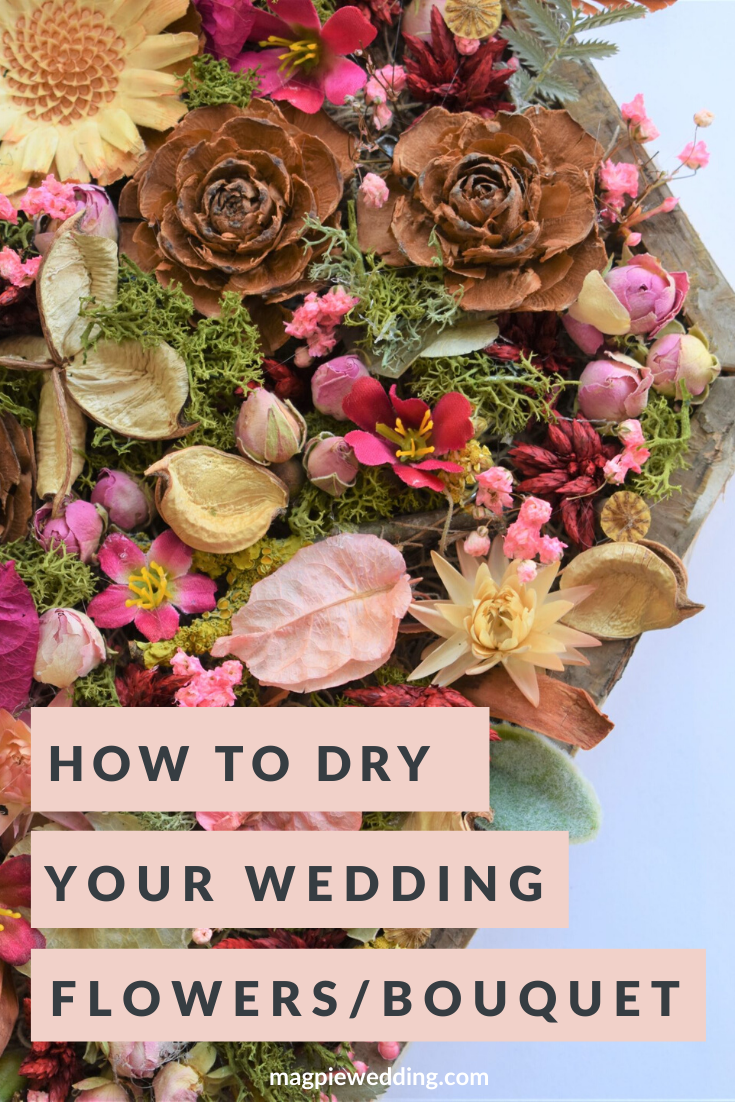
Something magical happens to flowers when they have been dried. Their vibrancy is dulled slightly, but their beauty is enhanced. Ever since I started my wedding flowers business ‘Flowers by Suzanne’ – I have regularly been asked by brides after their event; ‘how do I dry wedding flowers?’
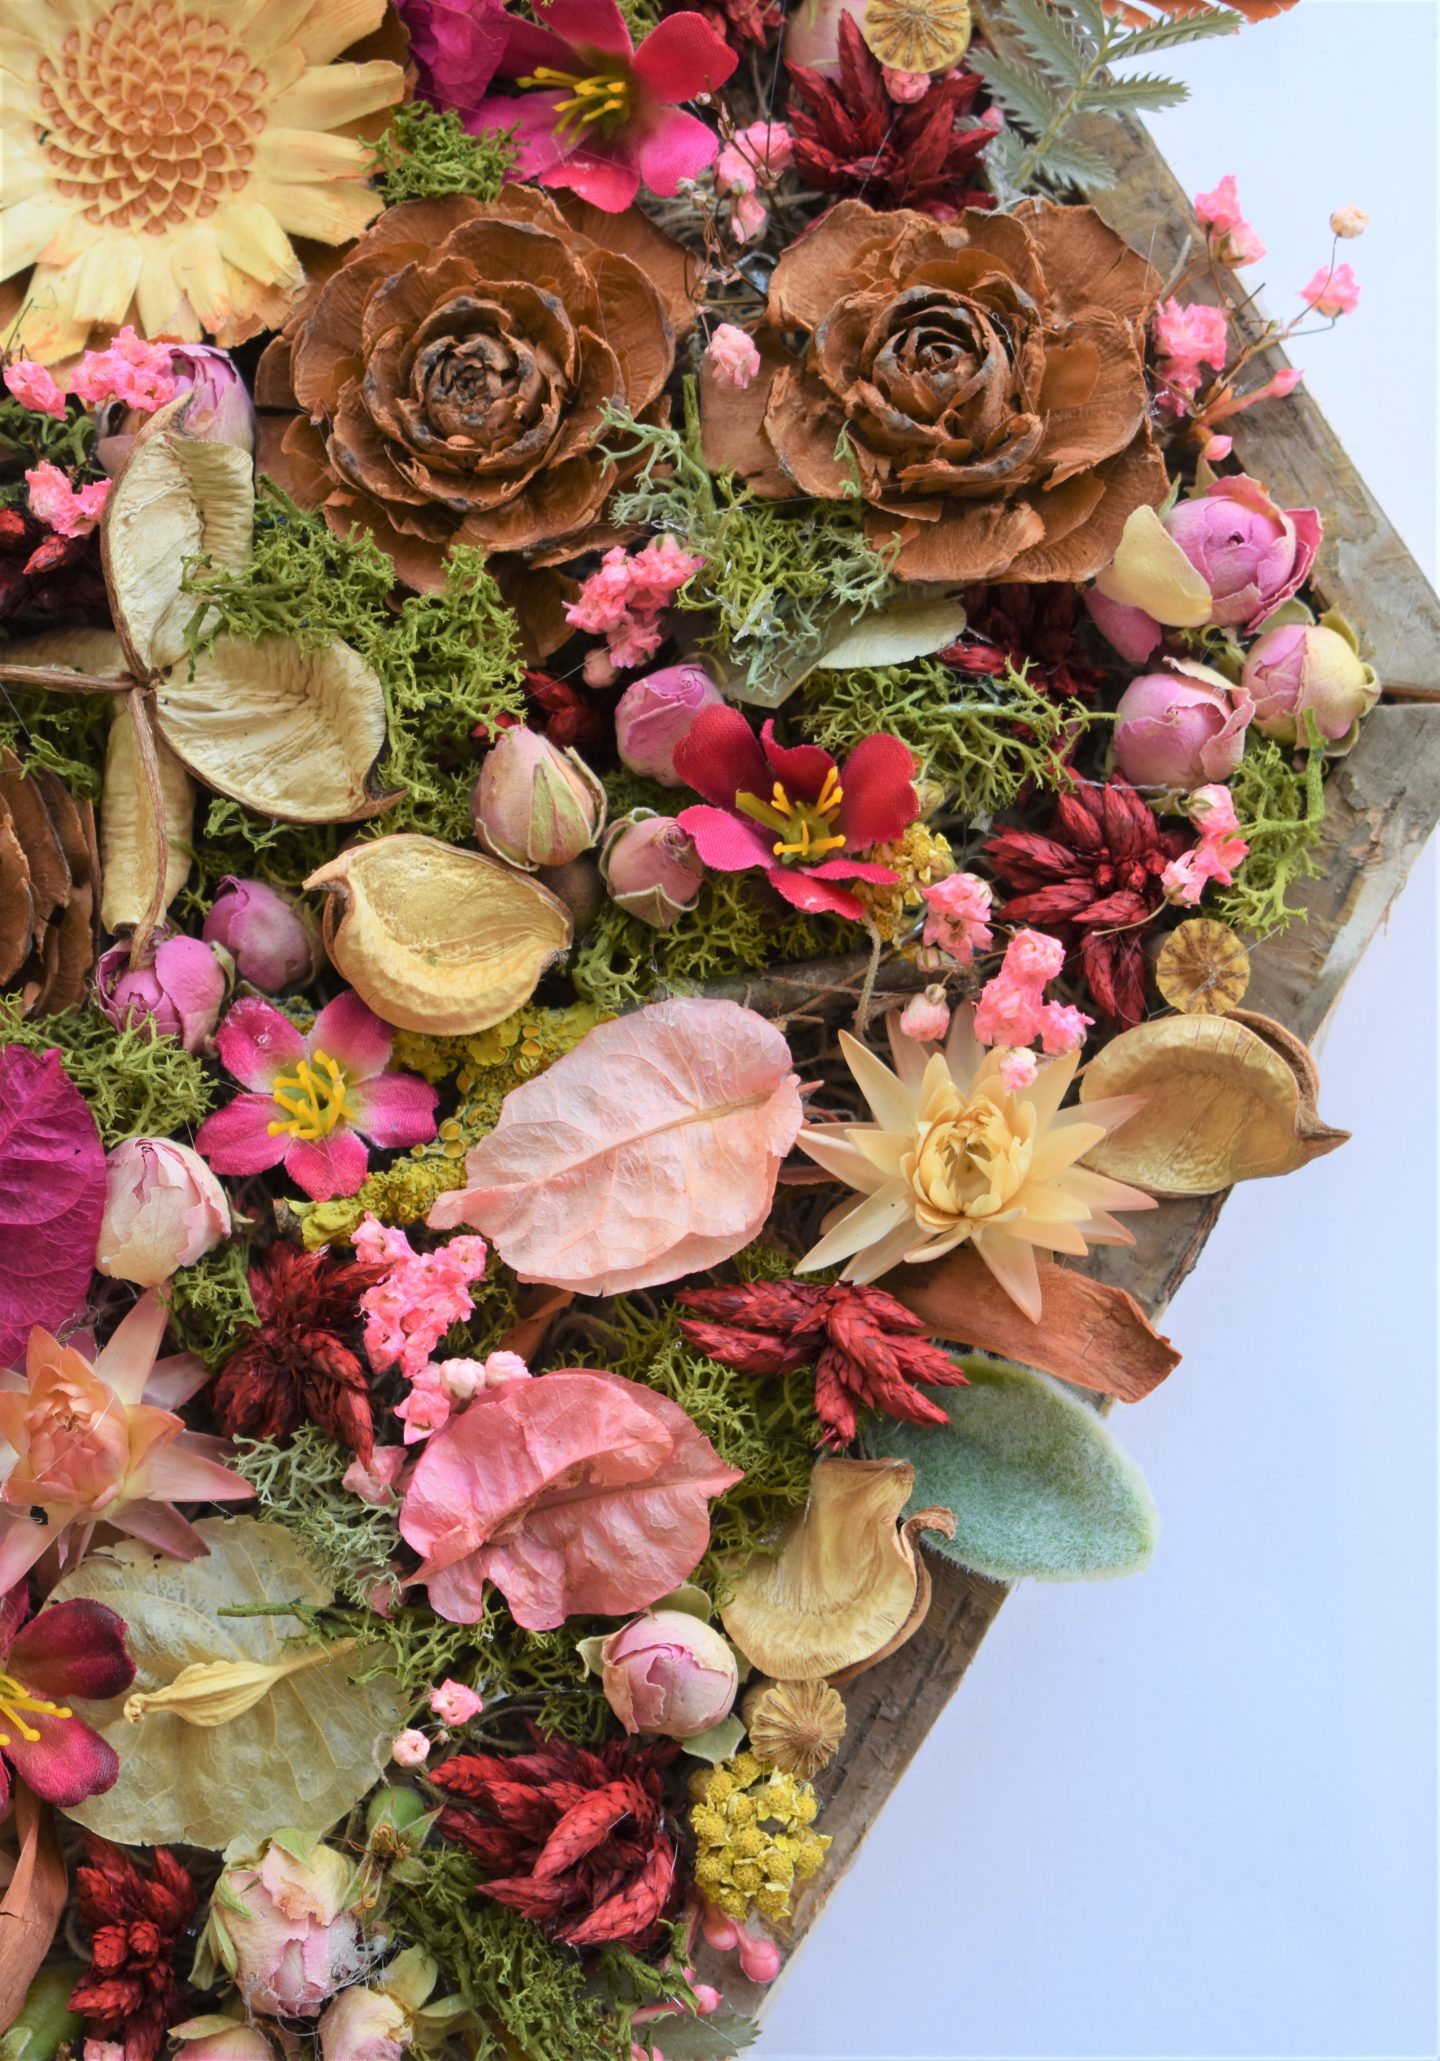
How To Dry Wedding Flowers To Keep Them Forever
Whether you decide to ‘Do-It-Yourself’ or have your flowers preserved professionally, always ensure that they are placed in water as soon as possible, after the wedding ceremony, pop up picnic or professional photos. Ask your florist to provide a pretty vase and display them on your card table or elsewhere in the venue. Ensuring the flowers have as much hydration as possible will enable the flowers to be dried at their best and therefore preserve their beauty.
The best areas to dry wedding flowers are either in a dark cool cupboard, a garage (where I tend to dry my flowers), or a garden shed which is mostly dark inside when the door is shut. Always make sure whilst the flowers are drying that they are kept away from direct sunlight, otherwise the light bleaches the colour of the flowers.
Here are various techniques to help you with your wedding flower preservation. Most people will be able to find success with a DIY approach to this, but you could also consider looking for an expert if you’d like to get the best results.
Here are various techniques to dry wedding flowers (or in fact any flowers you may receive as a gift) with a DIY approach it is a simple and easy project anyone can try.
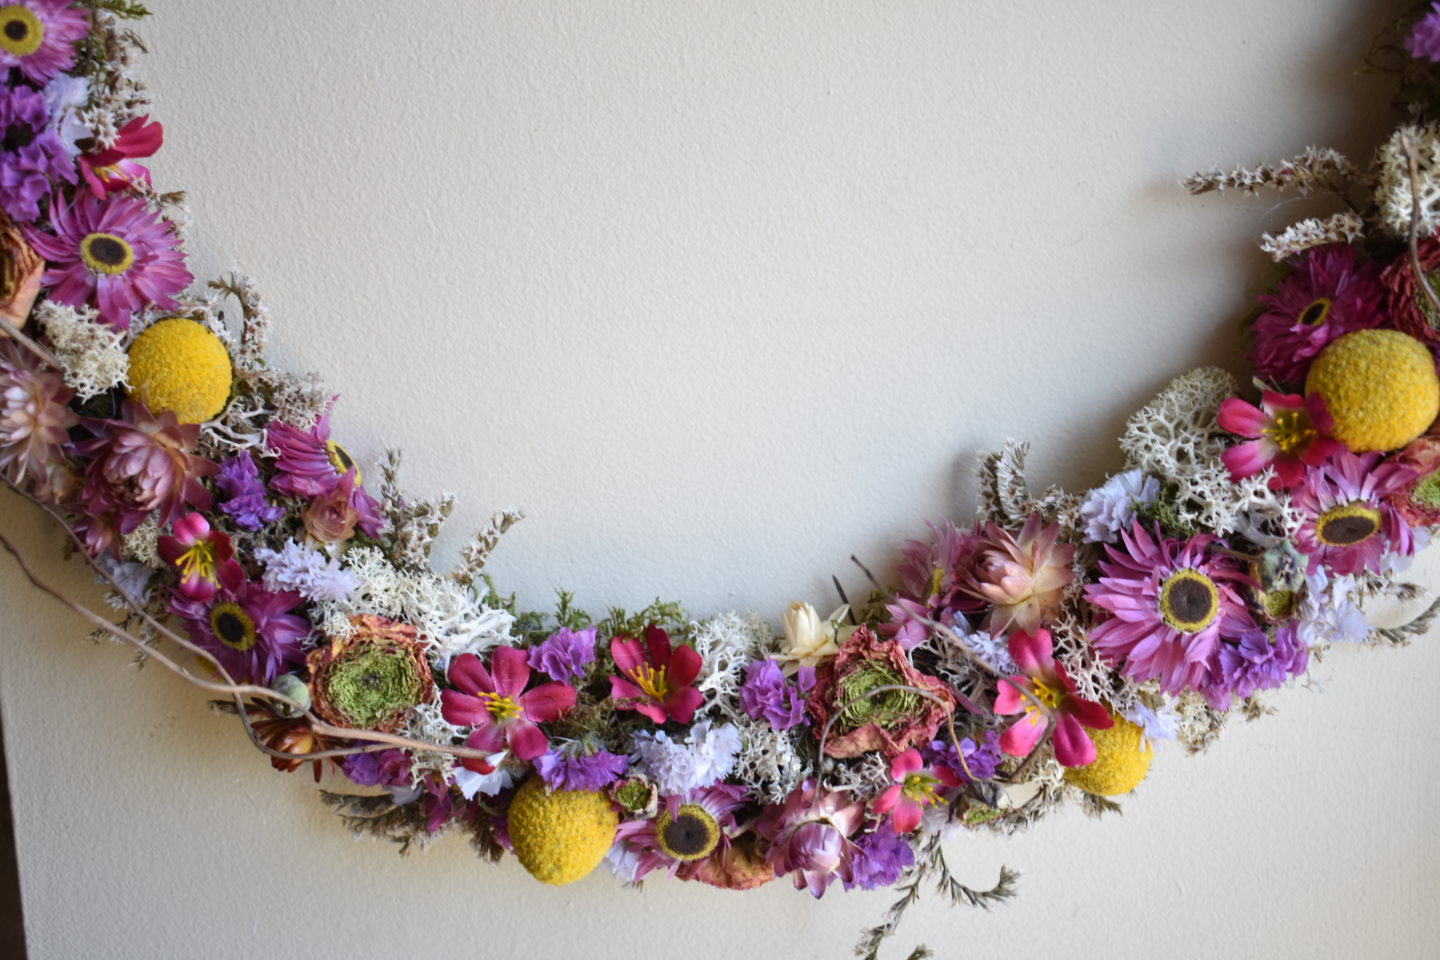
AIR-DRYING TECHNIQUE (UPSIDE DOWN)
The most effective method is air-drying your bouquet upside down. This is one of the simplest and quickest ways to preserve them.
- to prepare the flower bouquet, snip the ribbon and tying point. Carefully separate the stems and start stripping down all the unwanted foliage from the stems. Try to leave some of the top foliage surrounding the flower as this adds a more natural appearance.
- gathering the stems together, wind a length of string or twine around the top of them a few times, and secure with a tight knot at the end, leave enough string to form a loop to hang them with. You will find the stems themselves will shrink as they dry, so make sure that you have tied the bunches tightly enough to keep them together, but not too tightly in case this breaks the stems.
- separate the flowers into smaller bunches of the same flower and ensure that when you hang them to dry they’re not sitting too closely together – this will allow for air circulation.
- attach the flowers to a ‘washing-line’ of taut string or wire, in a cool dark environment and wait! This method can take several weeks, but once thoroughly dried can be re-arranged in a vase or container of your choice.
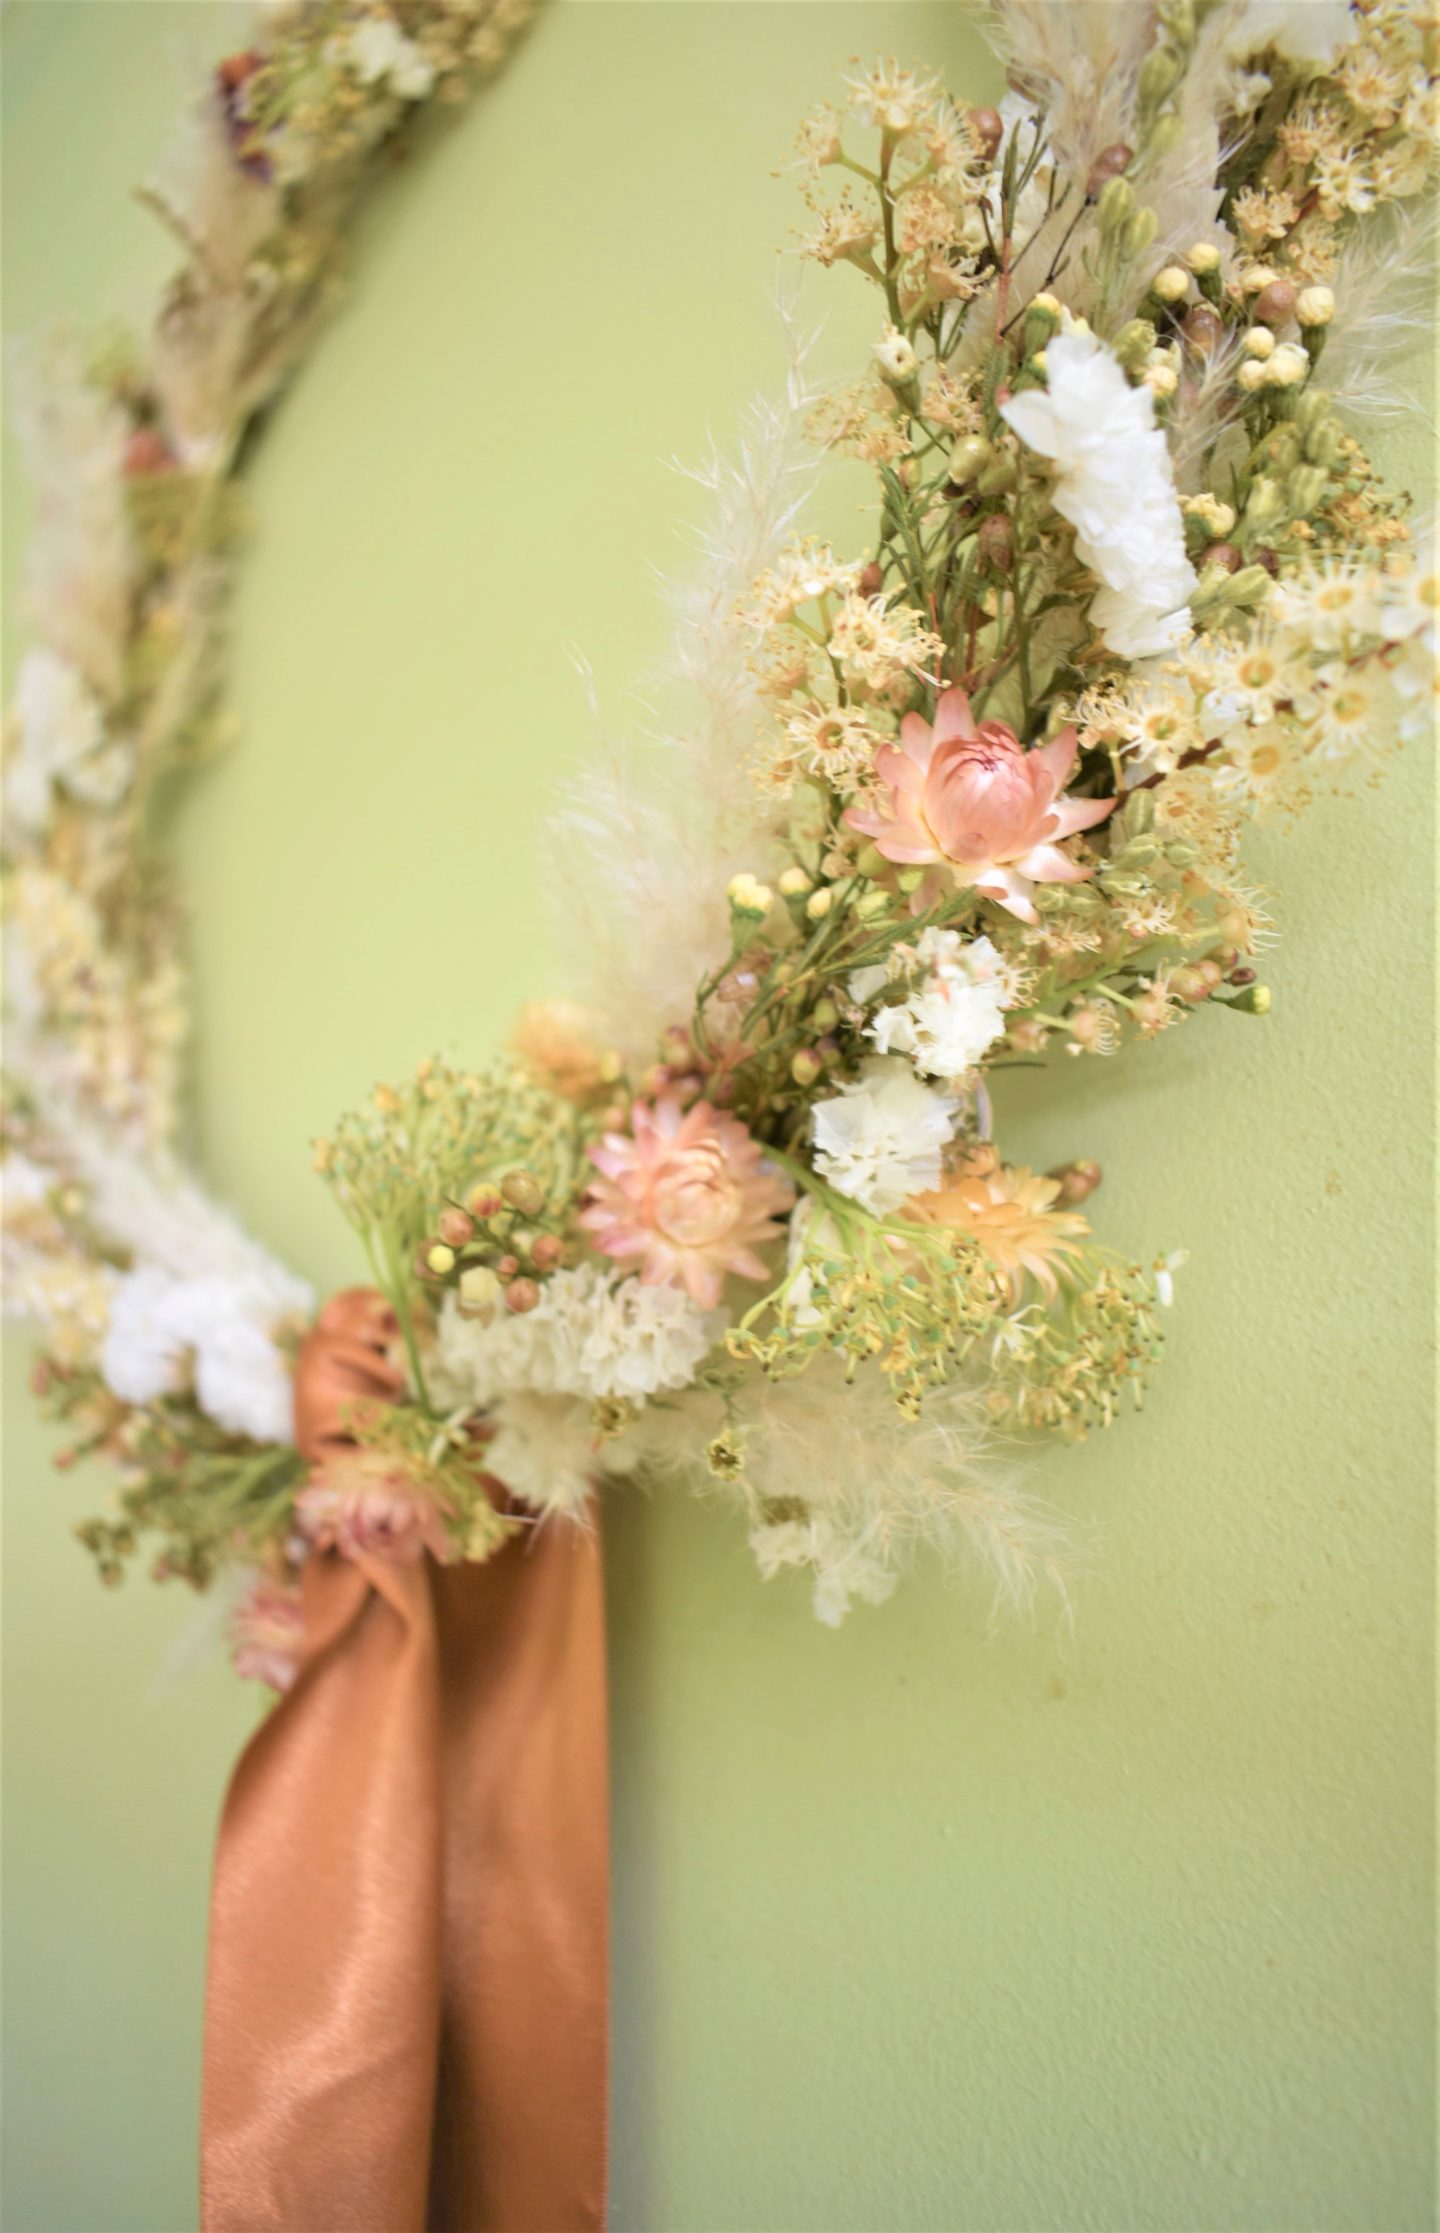
AIR-DRYNG TECHNIQUE (UPRIGHT)
While most flowers traditionally are dried upside down, there are a few that I dry with their heads facing upwards. I tend to recommend this method with bigger headed blooms, as I find this results in the blooms drying with a more open appearance, and if it has particularly heavy heads, ensures the flower heads don’t droop.
- find some chicken wire – or cardboard box lid with holes punched through will do the job.
- strip the foliage off the stems and slot each stem individually through small holes until the head of the flower rests on the chicken wire or cardboard.
- attach a wire loop to the top of the chicken wire or cardboard box lid and hang in a cool dark room.
This method works well if you are drying sunflowers, zinnias, gerberas, dahlias or any large-headed flowers in fact.
Either of the above techniques tends to take about 3-5 weeks and can be left hanging where they are, until ready to arrange or transferred to storage boxes lined with tissue paper.
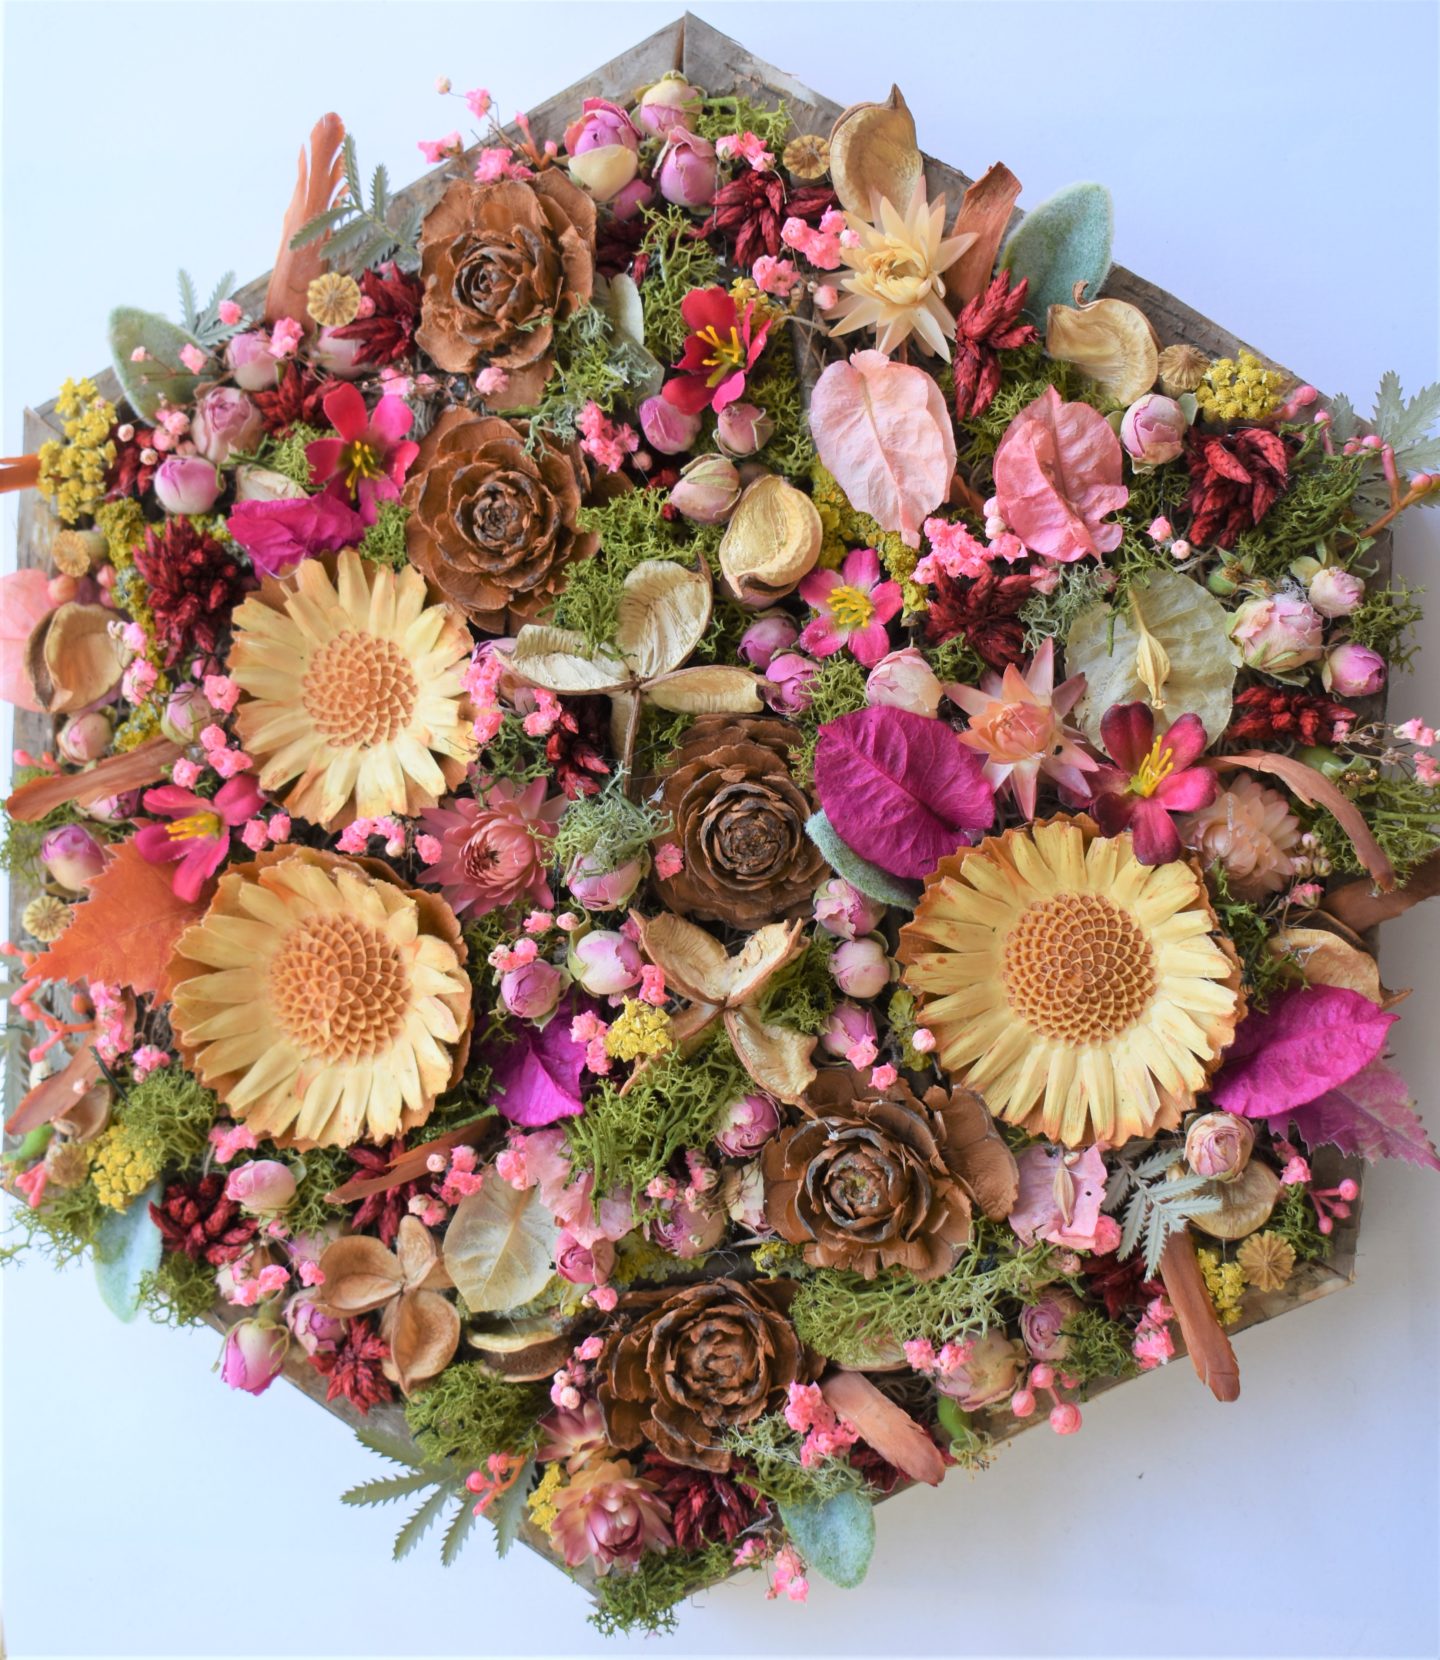
SILICA DRYING TECHNIQUE
This method is a bit more fiddly but worth a try, you can purchase silica gel from Hobbycraft or Amazon which costs (at the time of writing) about £14 for a 1.5LBS bag.
Silica gel is a bit like porous sand. Silica works by drawing the moisture out of the petals and leaves whilst also holding the flower in shape. Because the flowers are not exposed to any light, air or heat, once dried, this method retains the original colour!
Most good silica gel comes with coloured beads which change colour as they become full of moisture. Silica gel beads can be re-used by drying them out in an oven on very low heat for a few hours.
To use this drying technique you will need to find a container big enough to hold both the flowers and the silica gel with the lid firmly sealed. I suggest an old biscuit tin or a large Tupperware box – with lids. This method is especially suitable for smaller flowers. However, it can limit the number of flowers that you can dry in one go.
Depending on the flowers you are drying, it can take between 2-8 weeks to fully dry out.
- find an air-tight metal or plastic container
- put a layer of silica gel at the bottom of the container
- cut the flower stems short enough to place in the container
- carefully pour the silica gel around the flowers
- once you have enough around your flowers sprinkle lightly over the top of the flowers until your flowers are completely covered
- after several weeks, once the flowers have dried, slowly pour out the silica gel until you are able to see the flowers
- pick them up gently by the stem and carefully shake them free of the silica
- use a small paintbrush with a soft tip to clean up the small bits of silica gel leftover on the flowers that are stuck to it
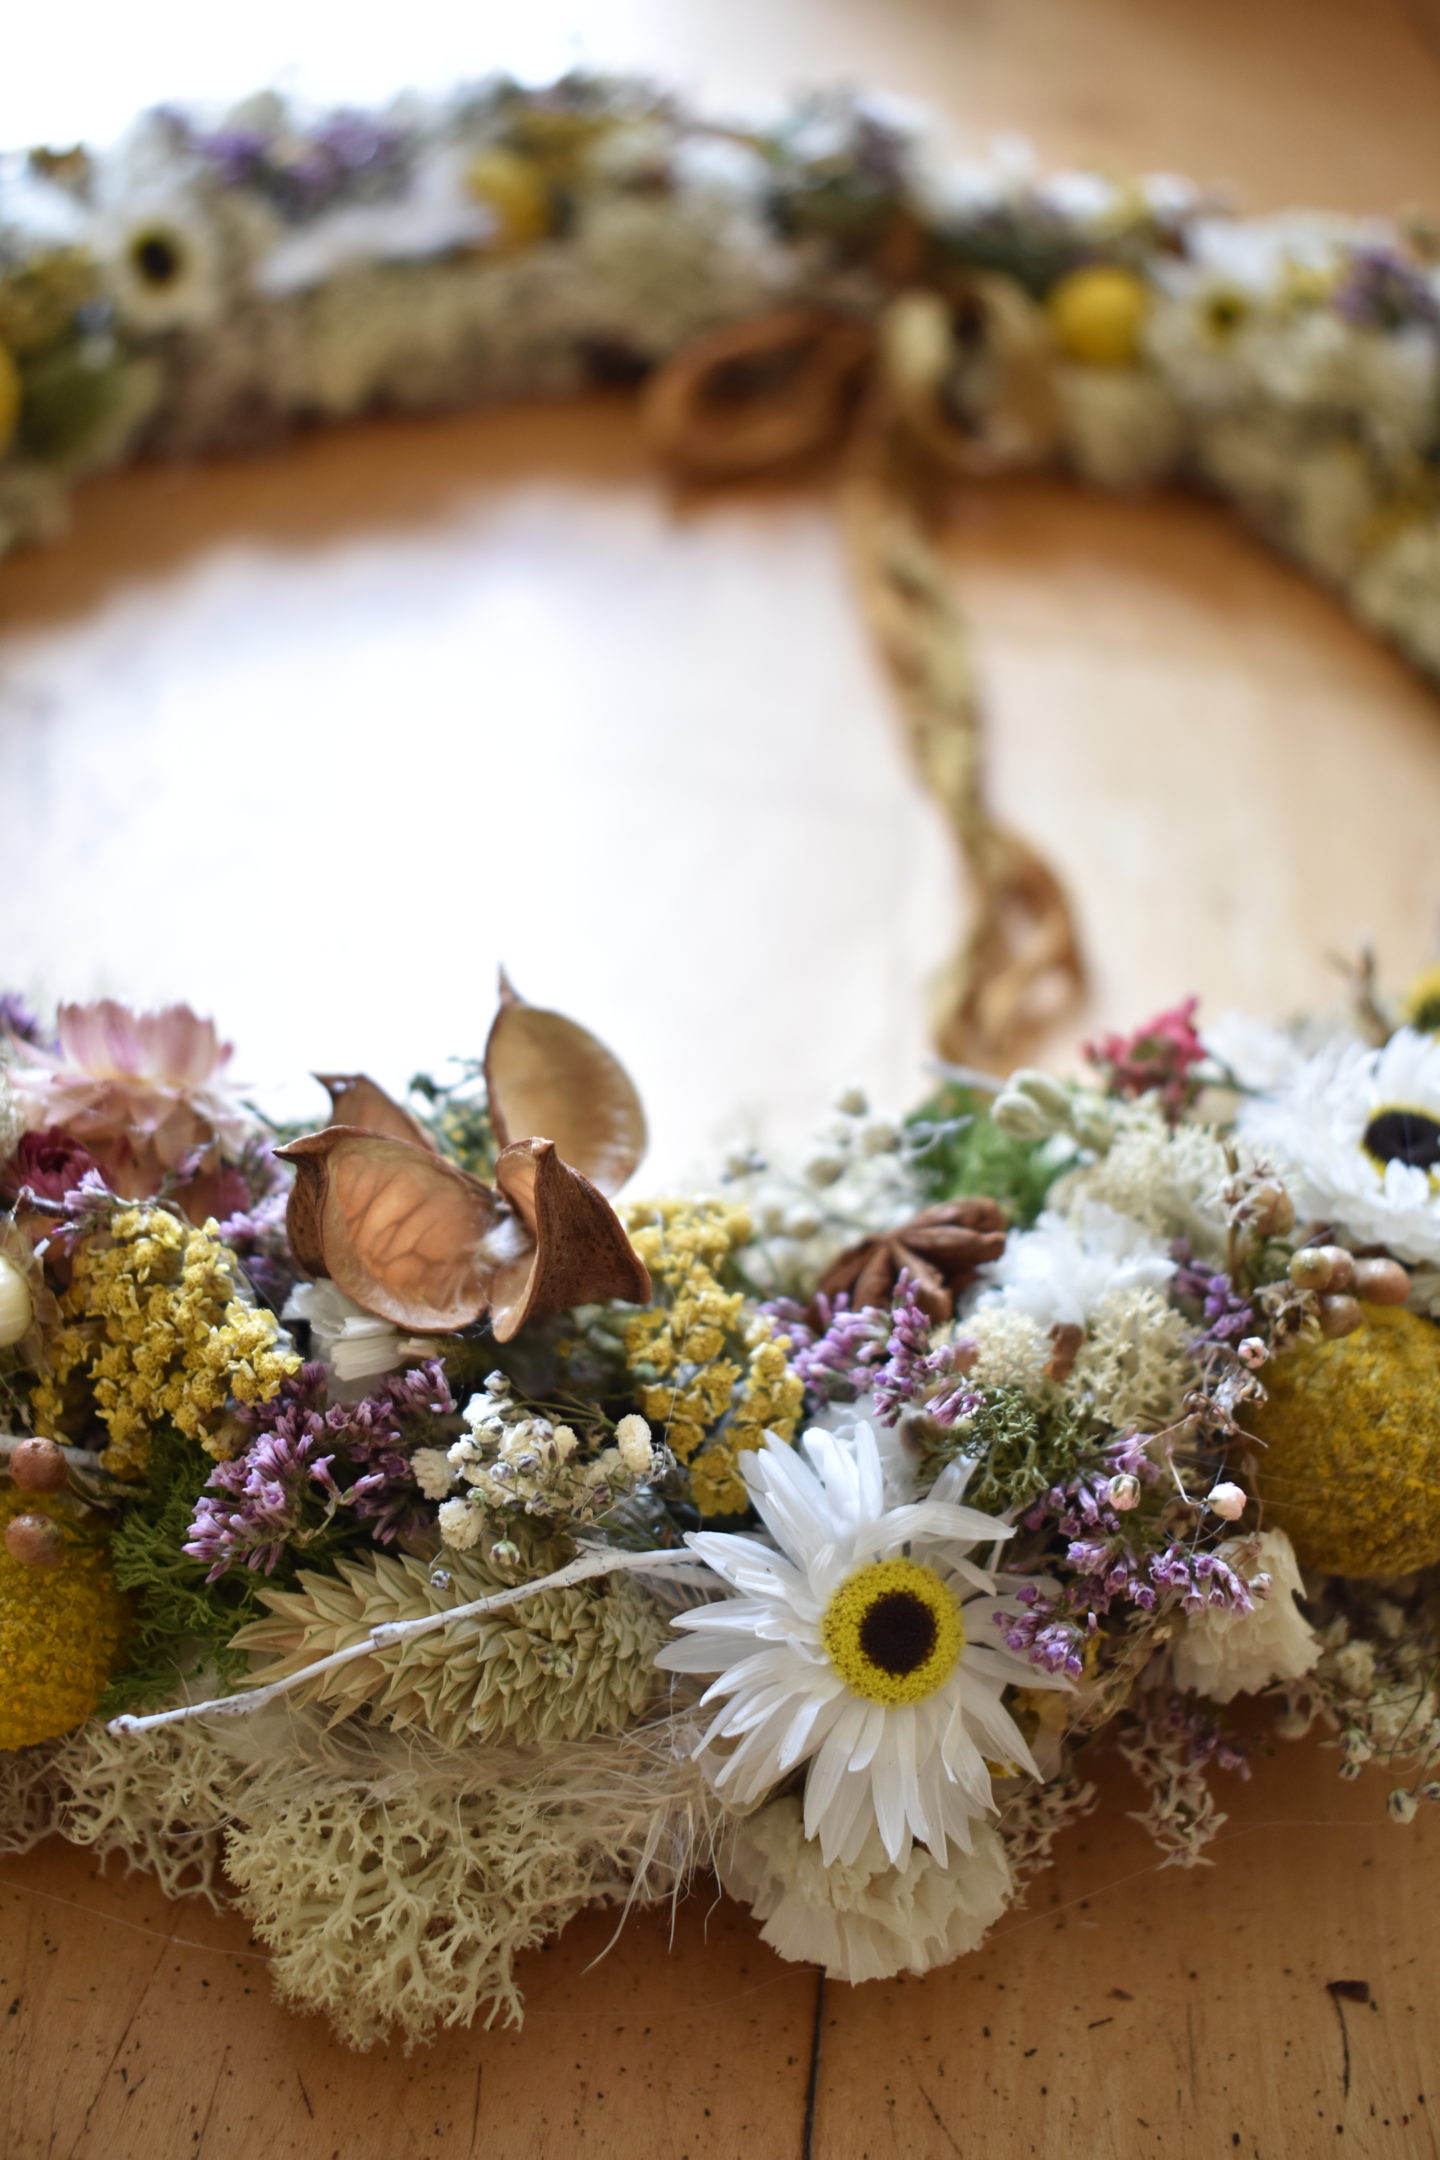
DRY EVAPORATION TECHNIQUE
Probably the easiest method to dry wedding flowers is dry evaporation. The beauty of this method is that you can enjoy the flowers whilst they dry – display them somewhere away from direct sunlight, so avoid the window cill!
After stripping the flowers of any unwanted foliage and particularly anything that sits below the waterline, put the flowers in a vase and add approximately two inches of water.
Ensure that the ends of the stalks sit in the water, and then just wait! It can take quite a few weeks for the flowers to dry out completely, but there is no need to top up the water. This method works particularly well with hydrangeas, gypsophila and spray roses.
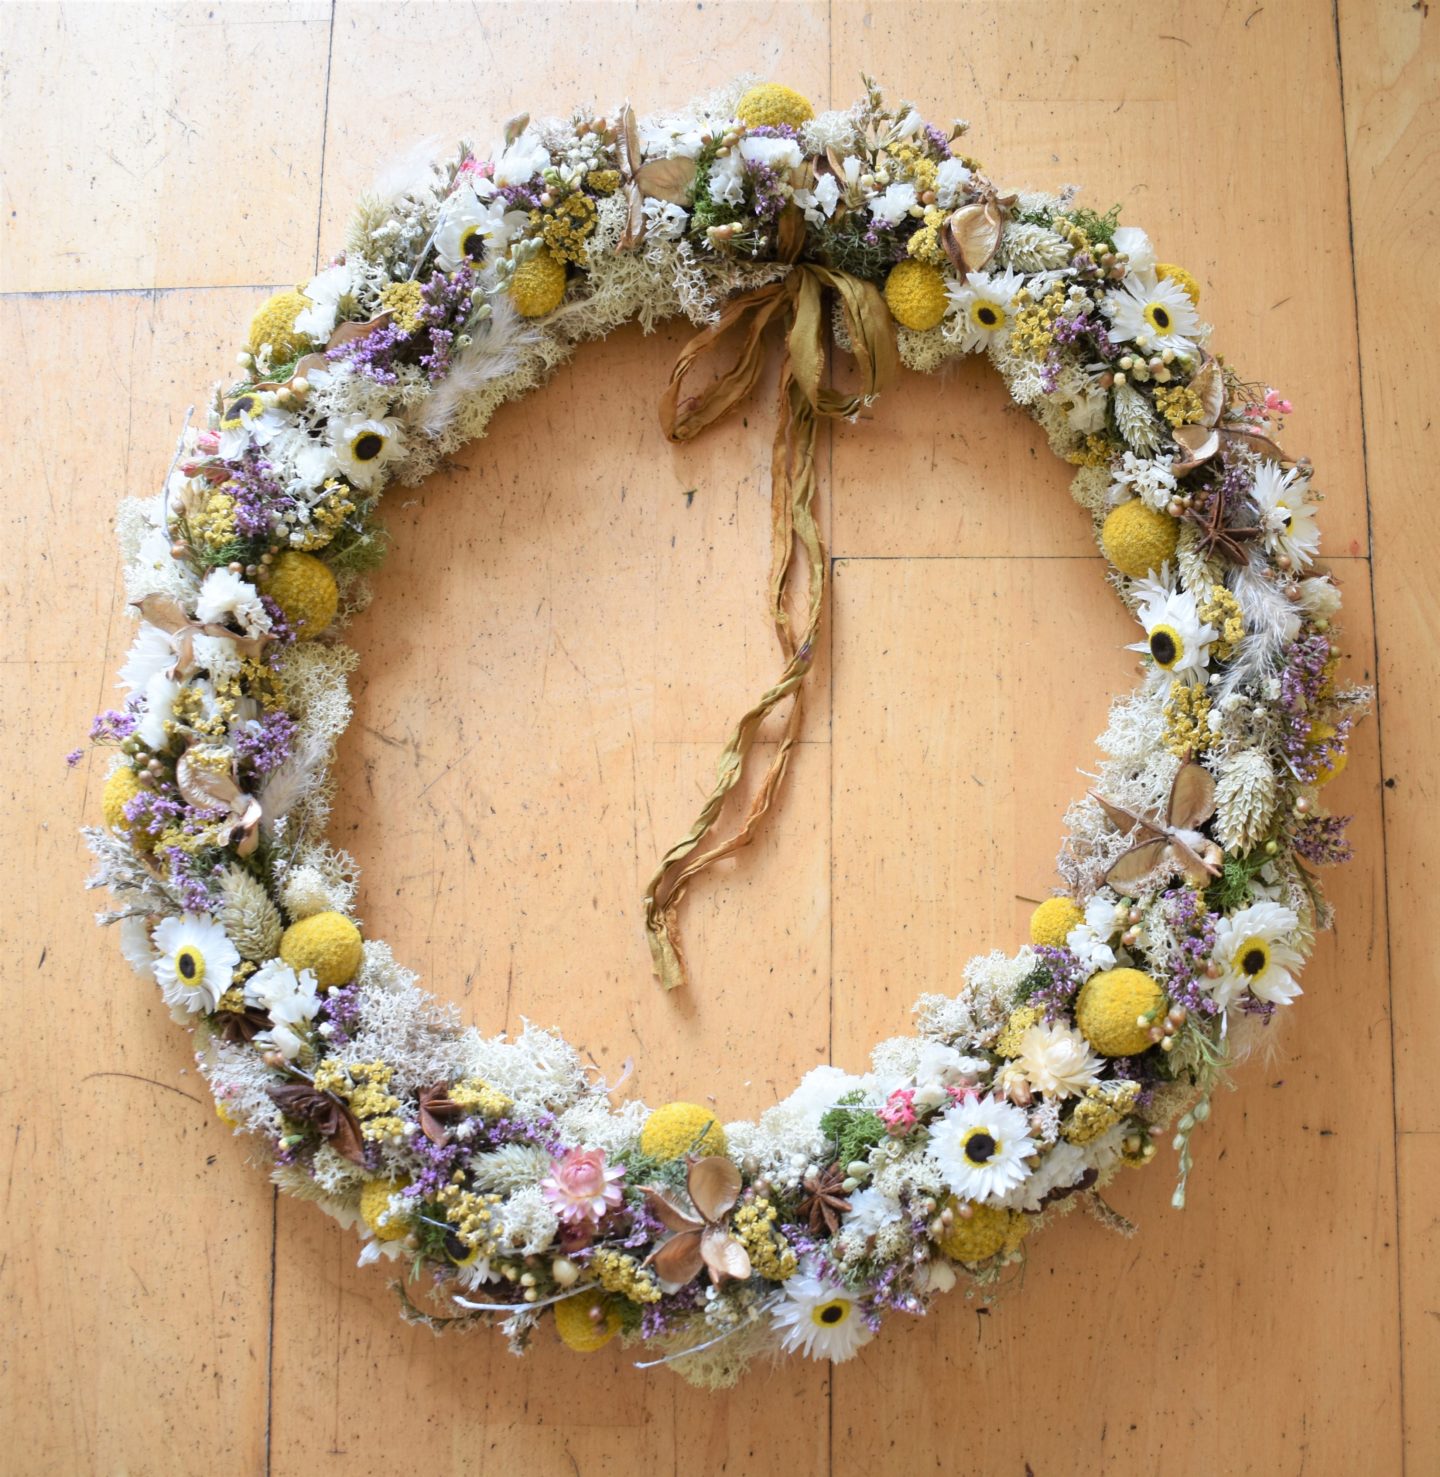
PRESSING FLOWERS TECHNIQUE
Most flowers respond well to pressing, with the exception of big, blousy flower heads such as tulips or protea. These tend to be too full of moisture or have too many layers to dry out properly, although individual petals can be separated and dried. You will find that the best results from this method are from daisies, nigella and poppies. Think about the form of the flowers when pressing, you can press the heads alone or the whole stem for a striking display. Pressing flowers takes quite a bit of patience and time. The quality of the flowers should be at their best, and it is important to press them as soon as you pick them too, otherwise, the petals will begin to droop and this will affect the end result.
· prepare the flowers by cutting off any unwanted foliage and making sure they are free from mud or dirt. Use flowers that are in their prime. If necessary, dry the petals and leaves with kitchen paper or a tea towel to ensure they are totally dry before putting them in the press.
· lay the flowers face down, on a fresh piece of blotting paper on the cardboard dividers so that it spreads out slightly.
· once all the flower heads are in position, lay a fresh sheet of blotting paper over the top, then layer with the cardboard and screw on the flower press. Tighten the bolts enough to squeeze the flowers flat, but not too much in case you damage them
· leave the flower press for a couple of weeks before unscrewing it and gently lift the pressed flowers off the blotting paper. The flowers can stick, so be careful, use a pair of tweezers and gently prise any delicate petals off the blotting paper to avoid breakage
· store in flat large envelopes or cardboard boxes with the pressed flowers separated with tissue paper, until ready to use
· once you are ready to use, then you can make bookmarks, decoupage canvas or framed art, the list is endless!
If you don’t have a flower press, then a big book works equally well. You can follow the same method as before, using the pages of the book as the blotting paper. Consider how many flowers you place in each book to try and ensure that you leave a few pages between each pressing to avoid any lumps showing. Tuck the book away for a few weeks between each pressing.
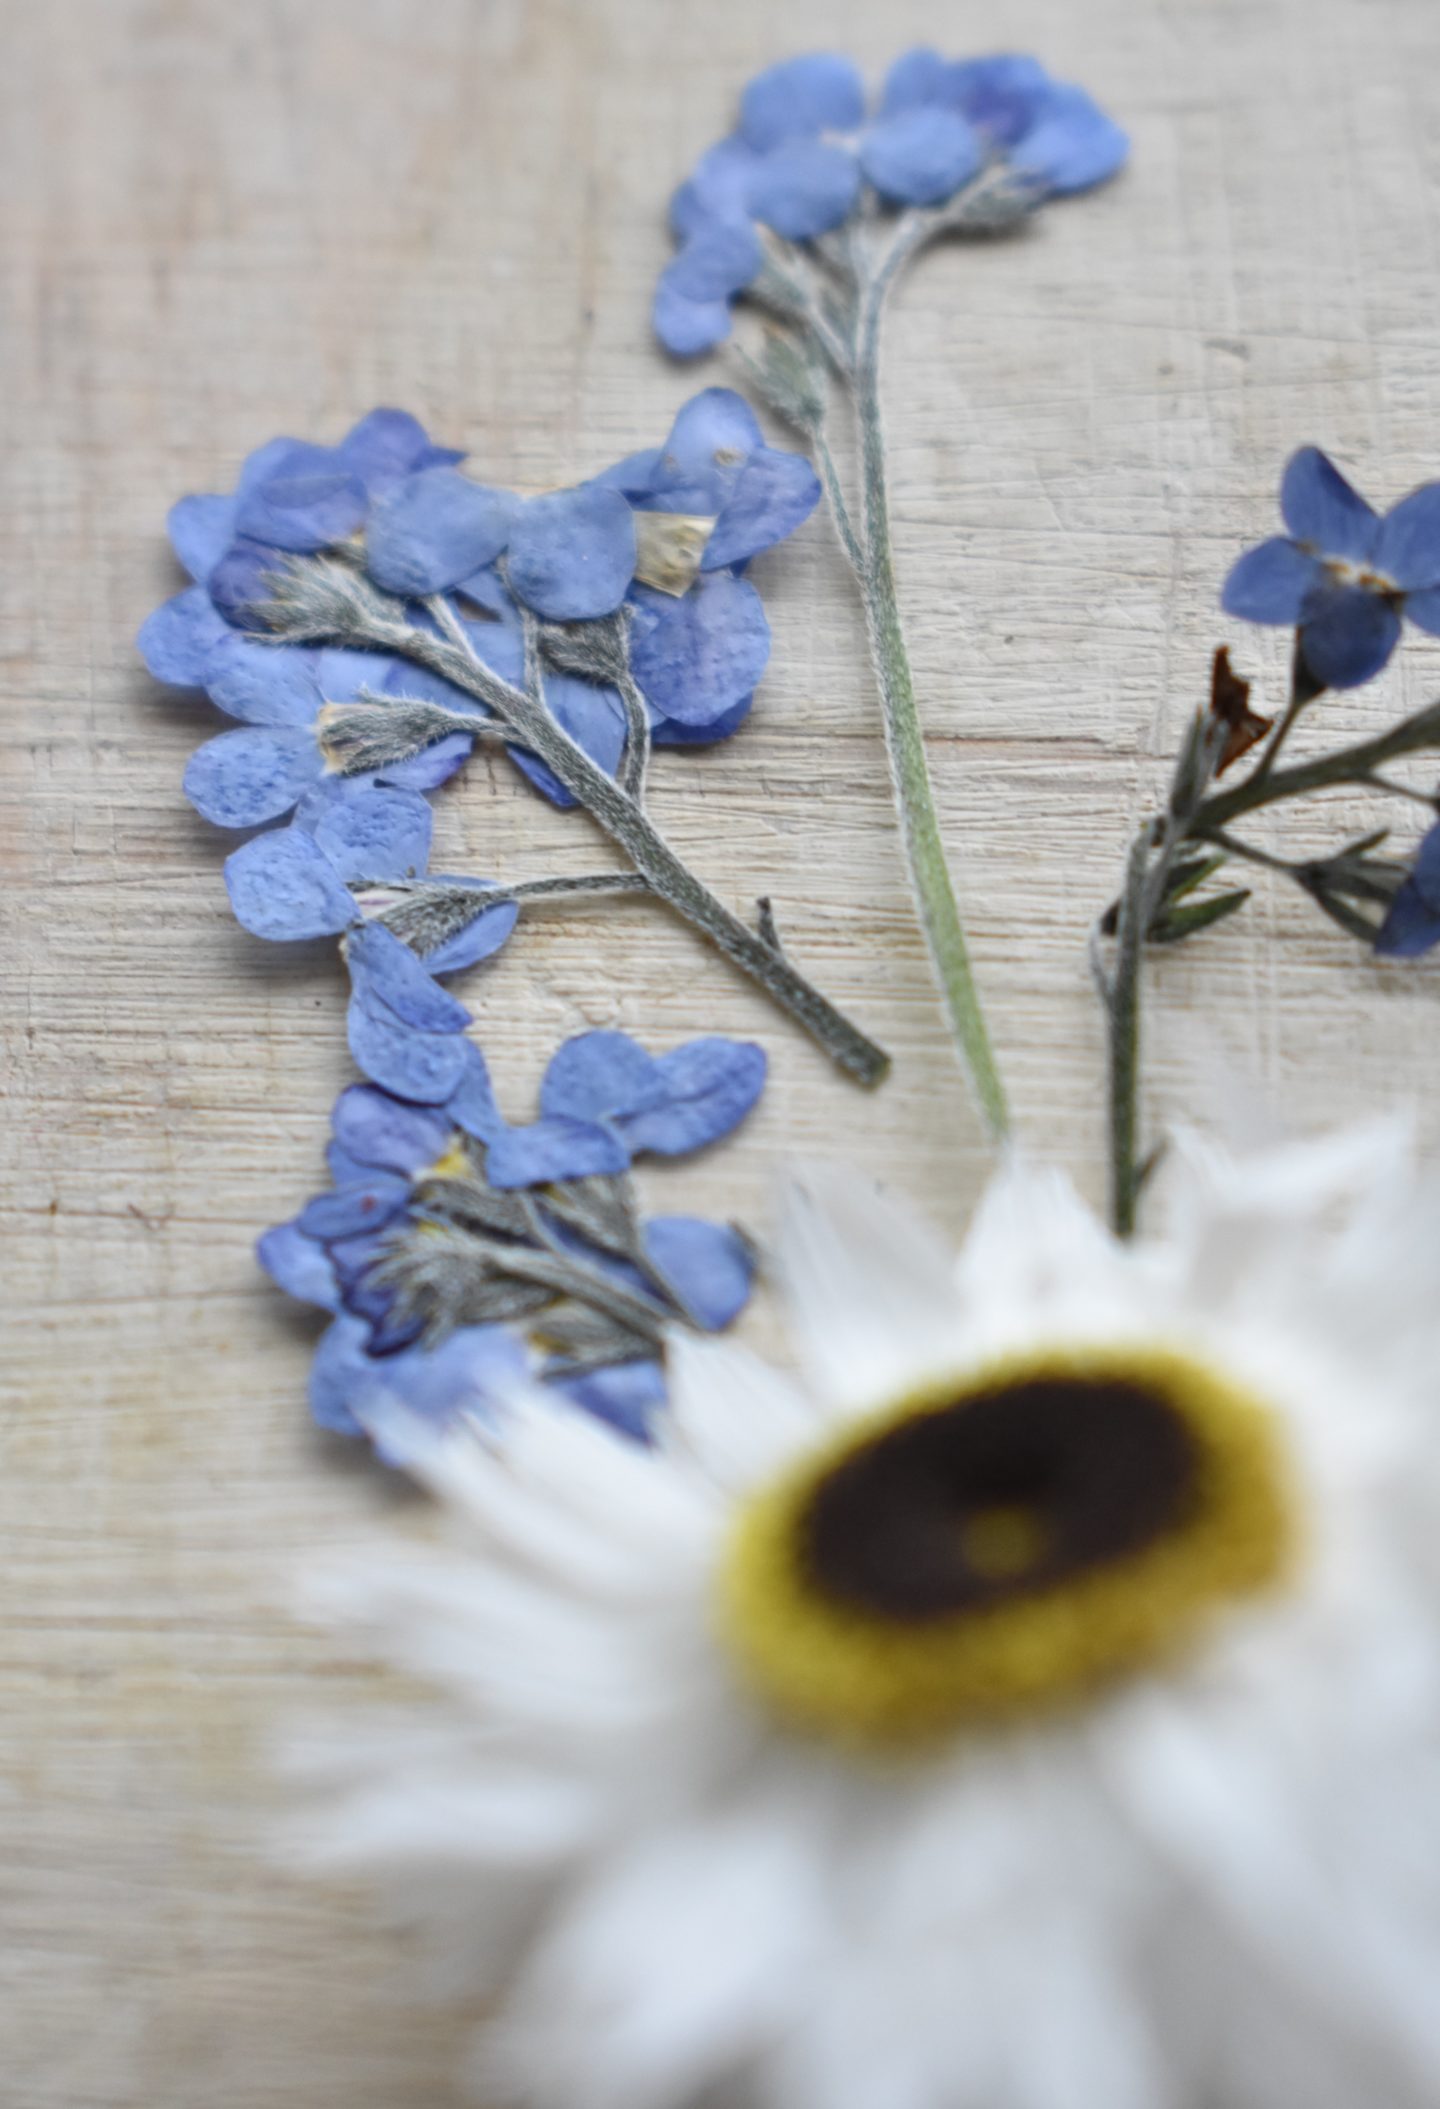
MICROWAVE DRYING TECHNIQUE
A relatively new invention is the ‘Microfleur’ microwave flower press, these can be ordered via Amazon. Unlike the traditional method of pressing flowers or plant material, the fresh flowers/foliage are pressed between two cotton liners, two thick wool pads and two vented pieces of fabric, held together by 4 clips. The press is then placed in a microwave for about 30-40 seconds or up to a few minutes, depending on the thickness of the plant material. Once all the moisture is gone from them, they appear just like the traditional method – almost ‘paper-like’ – and you have ready to use pressed flowers. This rapid drying of ‘Microfleur’ flower press keep the vibrant colours of flowers, stems and leaves. Recommended flowers to use are violets, daisies, cosmos, pansies and geraniums.
So, there we have it, plenty of different techniques to try out! If you worry about damaging the flowers, then there is always the professional method which is done by way of a freeze-drying machine. There are several companies online that provide an excellent service of courier collection the day after your wedding day – and although more costly – you have options to have 3-D pictures or have some of the flowers preserved in a paper-weight.
Huge thanks to Suzanne from Flowers by Suzanne Randell for today’s dry wedding flowers blog. Please do stop by her website to find out more about her!
IF YOU LOVED THIS THEN PLEASE PIN IT
IF YOU LIKED THIS BLOG HOW ABOUT THESE:
10 things to consider when choosing ethical flowers
10 ways to enjoy your wedding flowers forever

