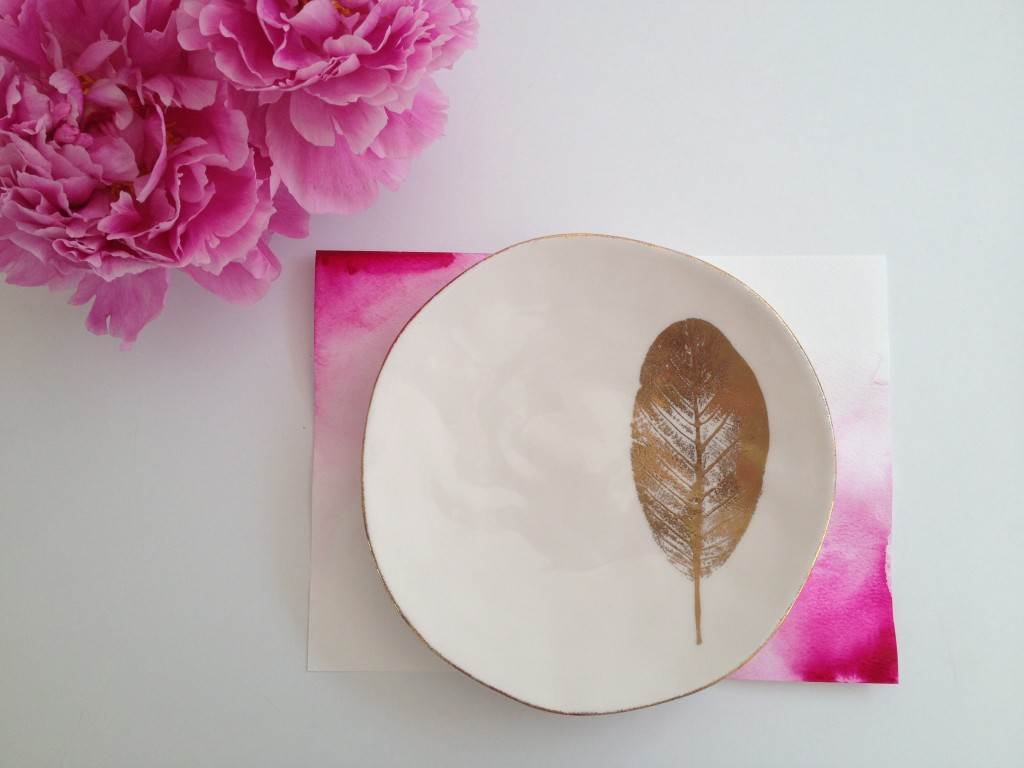
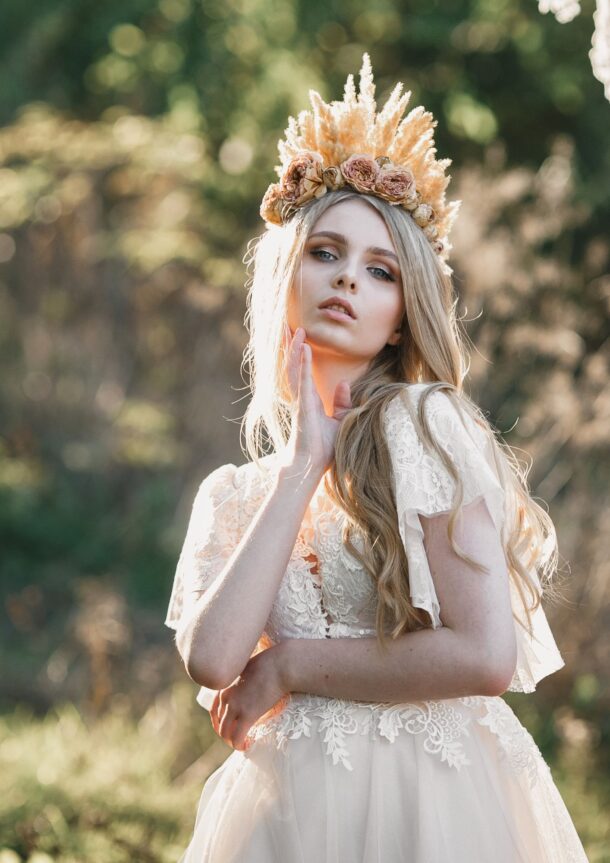
Here’s an easy and pretty way to incorporate a handmade element into your day and liven up your tables with a gorgeous pop of colour. The DIY wedding tutorial is by Carrie Southall Design who is a London based wedding designer and stylist.
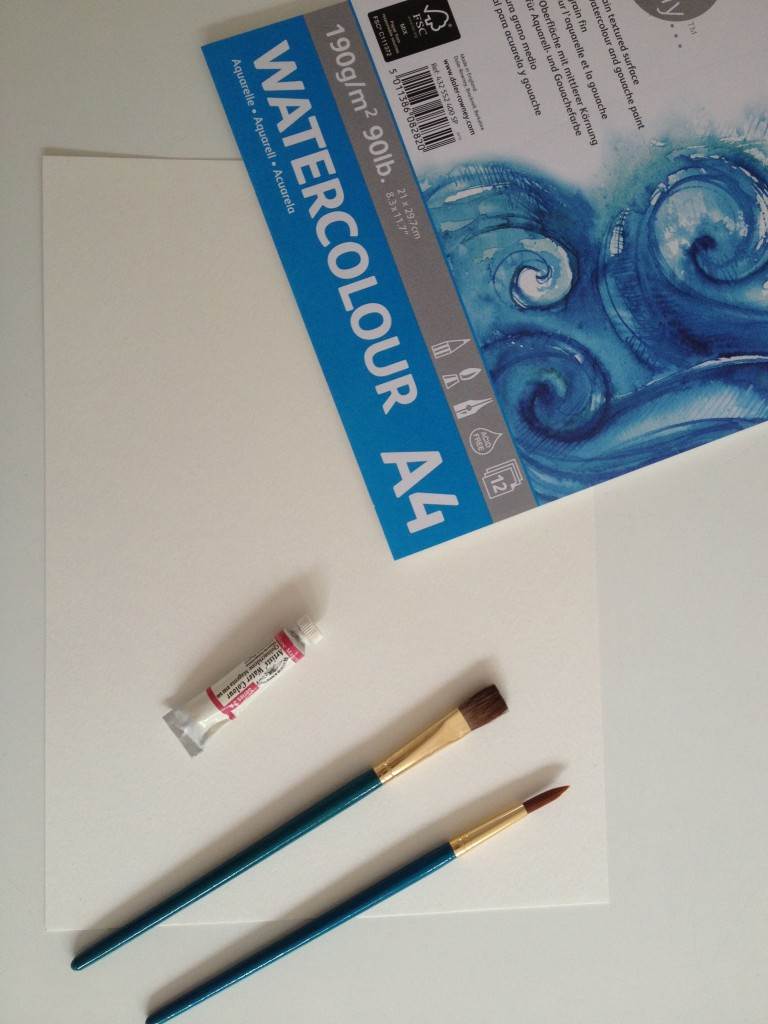
You will need:
* Water colour paper – we used A4 for this DIY, but you could use A3 for larger * placemats!
* Watercolour paint – we used Windsor & Newton Artists watercolour tube in ‘Quinacridone Magenta’
* Paintbrush ( worth investing in a nice watercolour one)
1. Get yourself set up with your paper on newspaper or cloth to protect your work surface. Grab yourself a jar of water and squeeze some of the paint onto a plate.
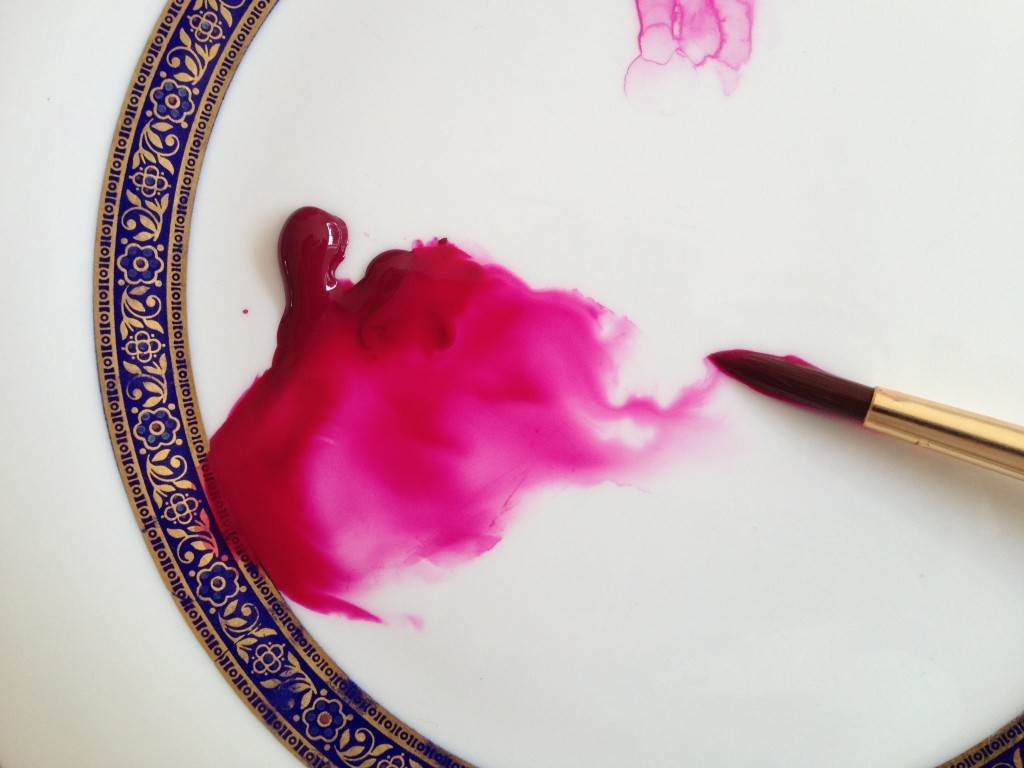
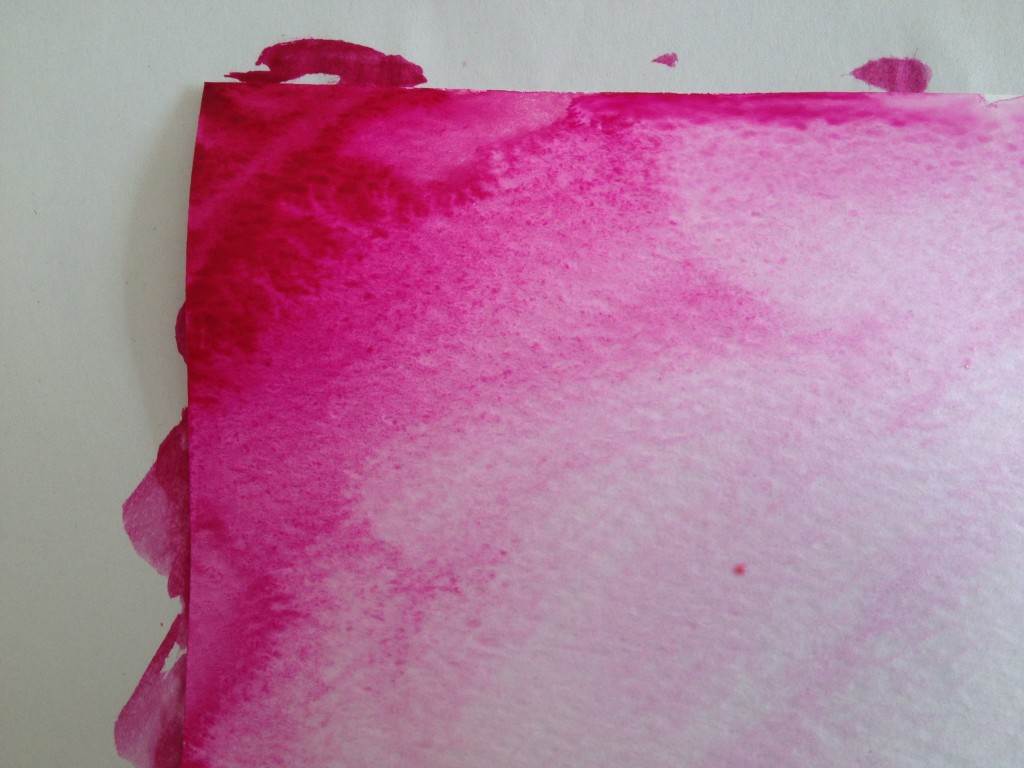
2. Dampen your brush and dip it into your paint and start adding the undiluted paint to the corner of your paper.
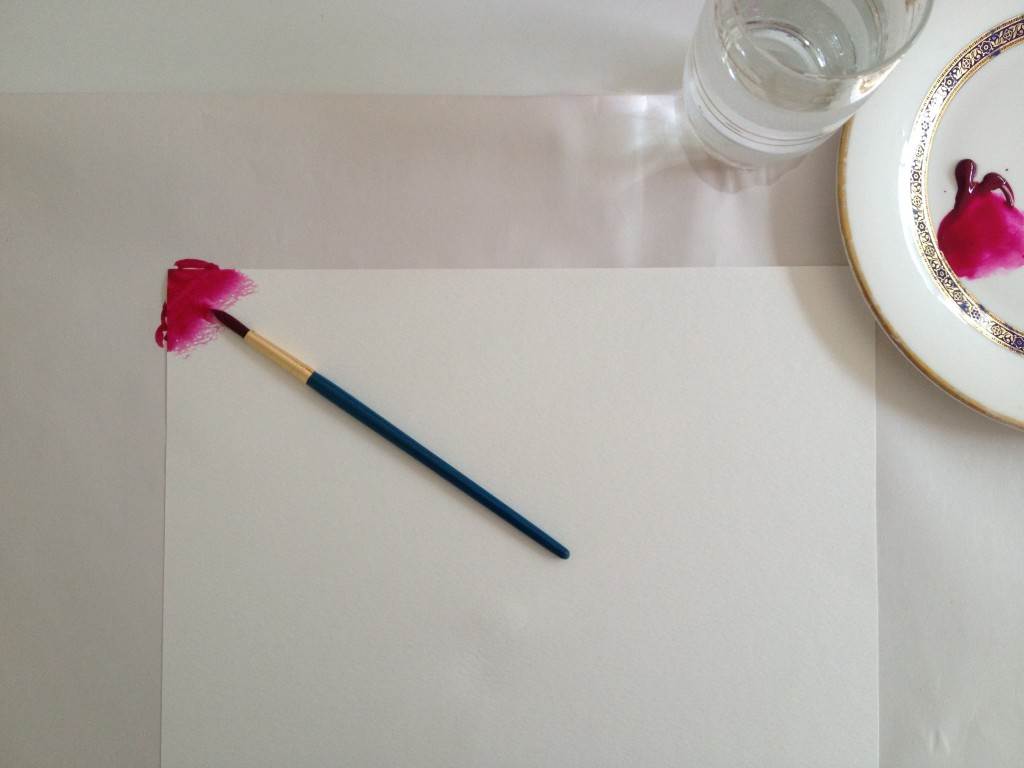
3. Dip your brush in the water, give it a good swirl around and then start working the paint outwards with the watery brush. Keep washing out the brush and working towards the centre of the paper with the water until you have your desired watercolour effect.
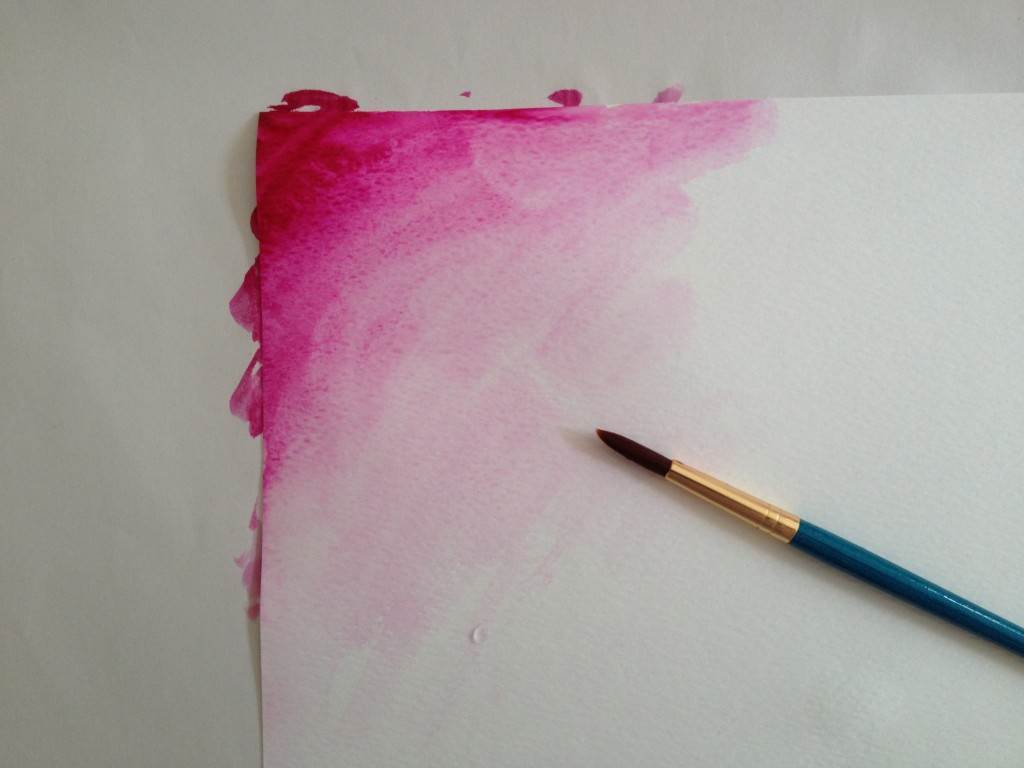
4. Watercolour paint is quite forgiving, so if it’s not looking right, you can wash it out, or add more paint as you wish. Then just turn it round and start working on the opposite corner!
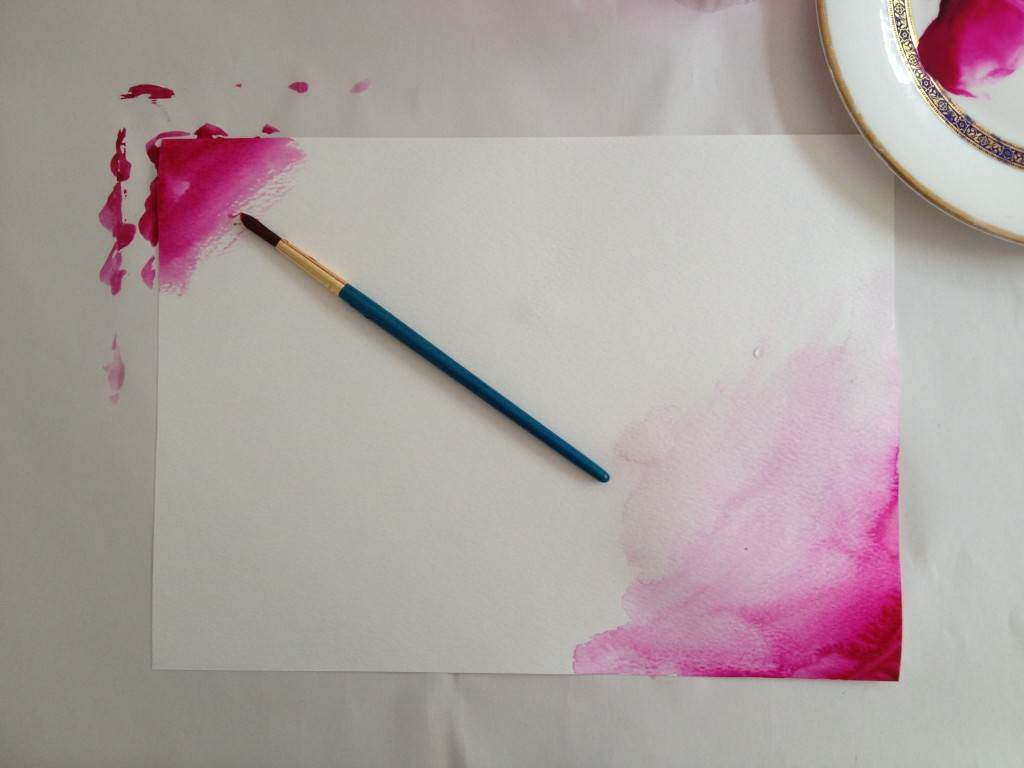
5. Keep flat until dry and then keep all mats flat till they are needed. The paper will wrinkle as you add the water but will dry and flatten with time.
( If you are keen for a super flat mat, then dampen the paper first, but I don’t think this essential )
And…If you love this DIY wedding idea but are daunted by creating 100 or so of them, then just do half the number of guests. I think they would be more effective at every other place setting. Or simply use them as a table centre.
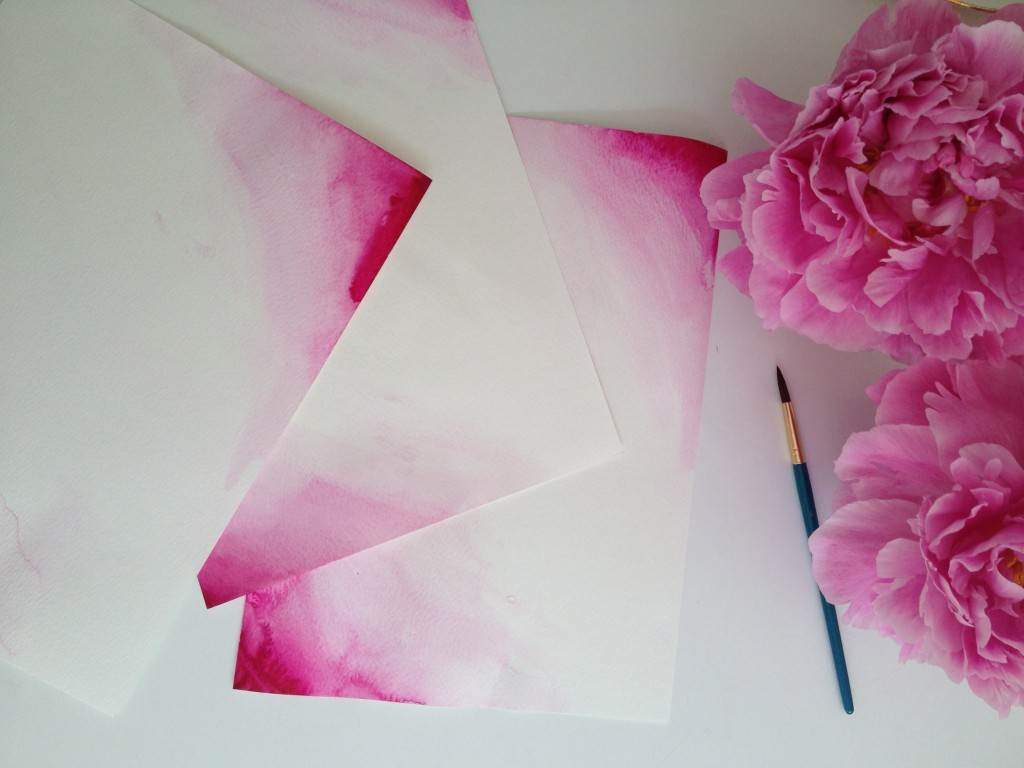 Thanks to Carrie for this wonderful and effective idea!

