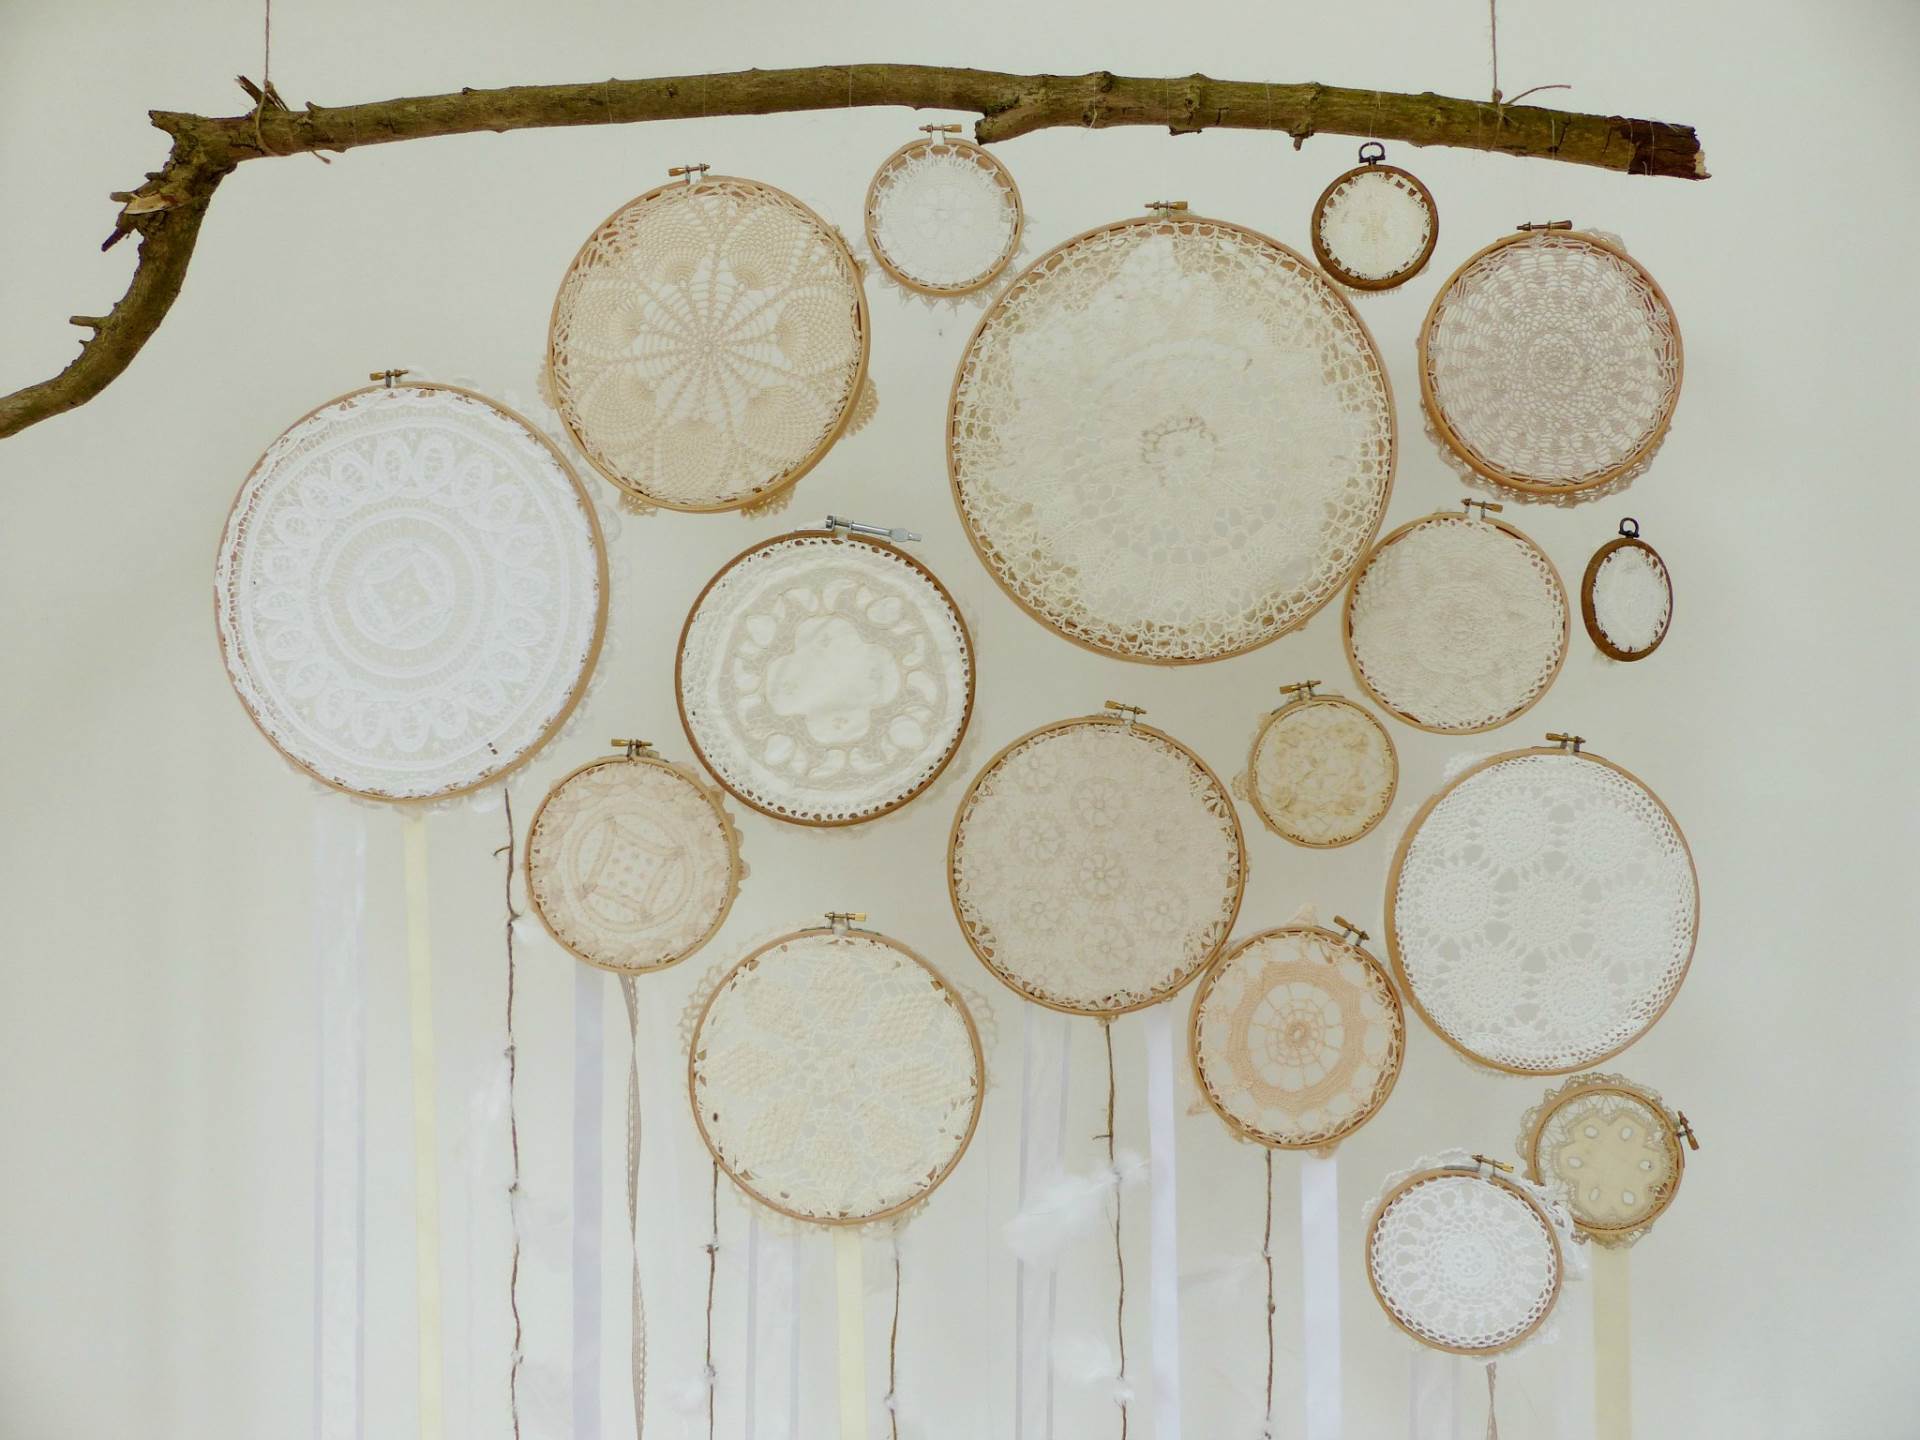
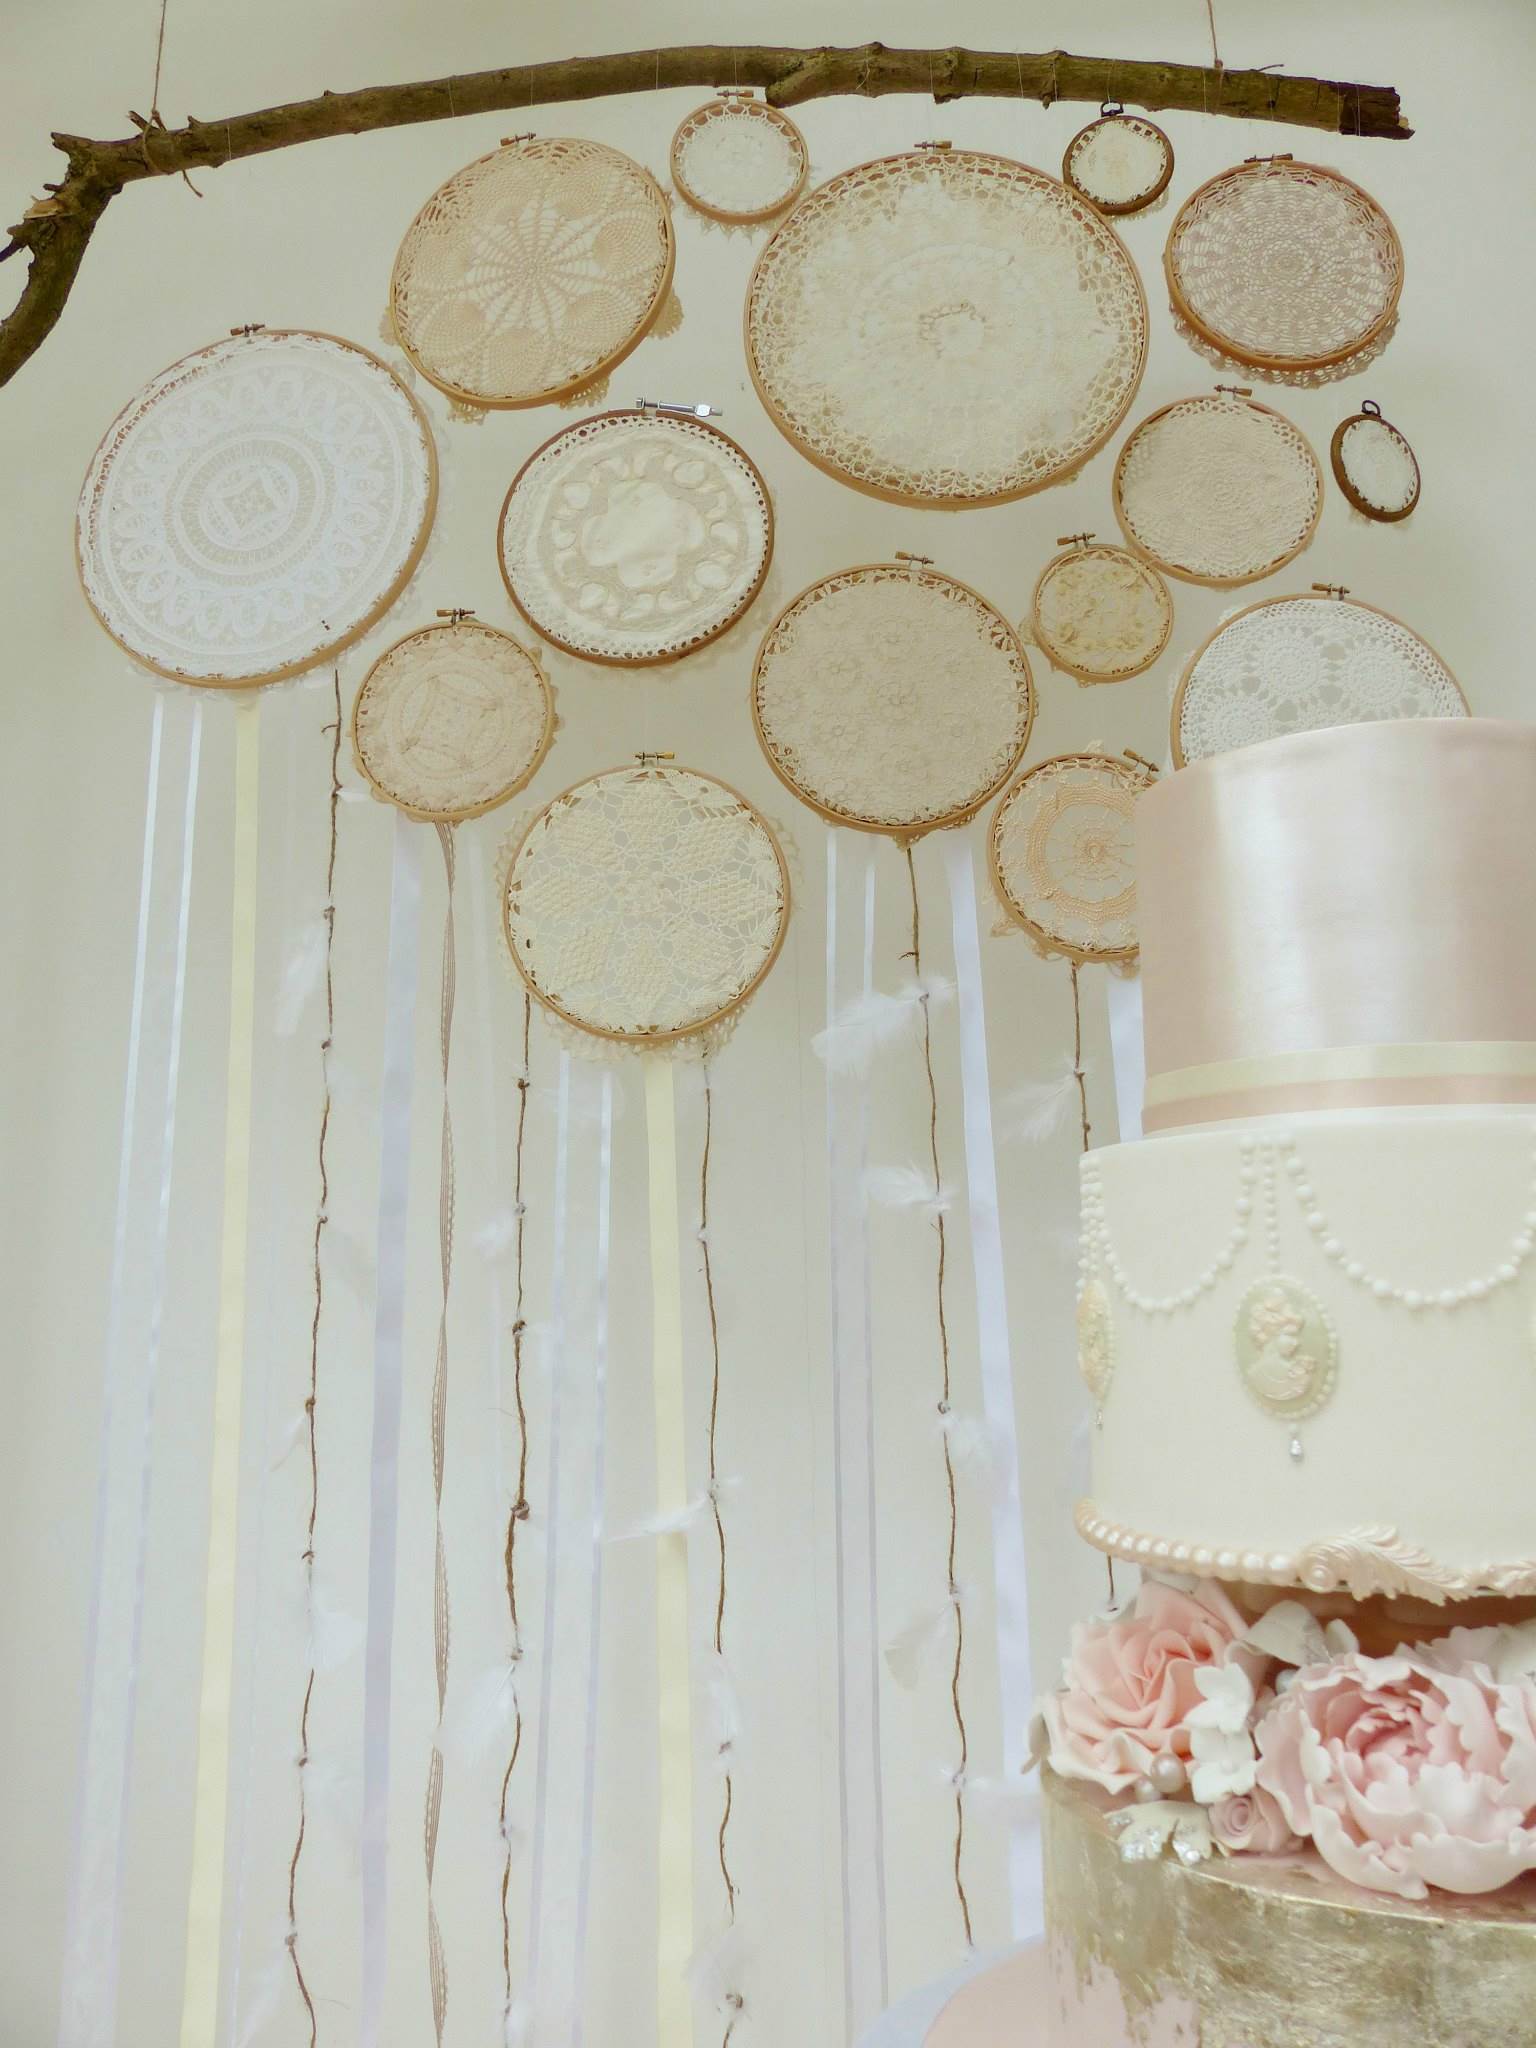
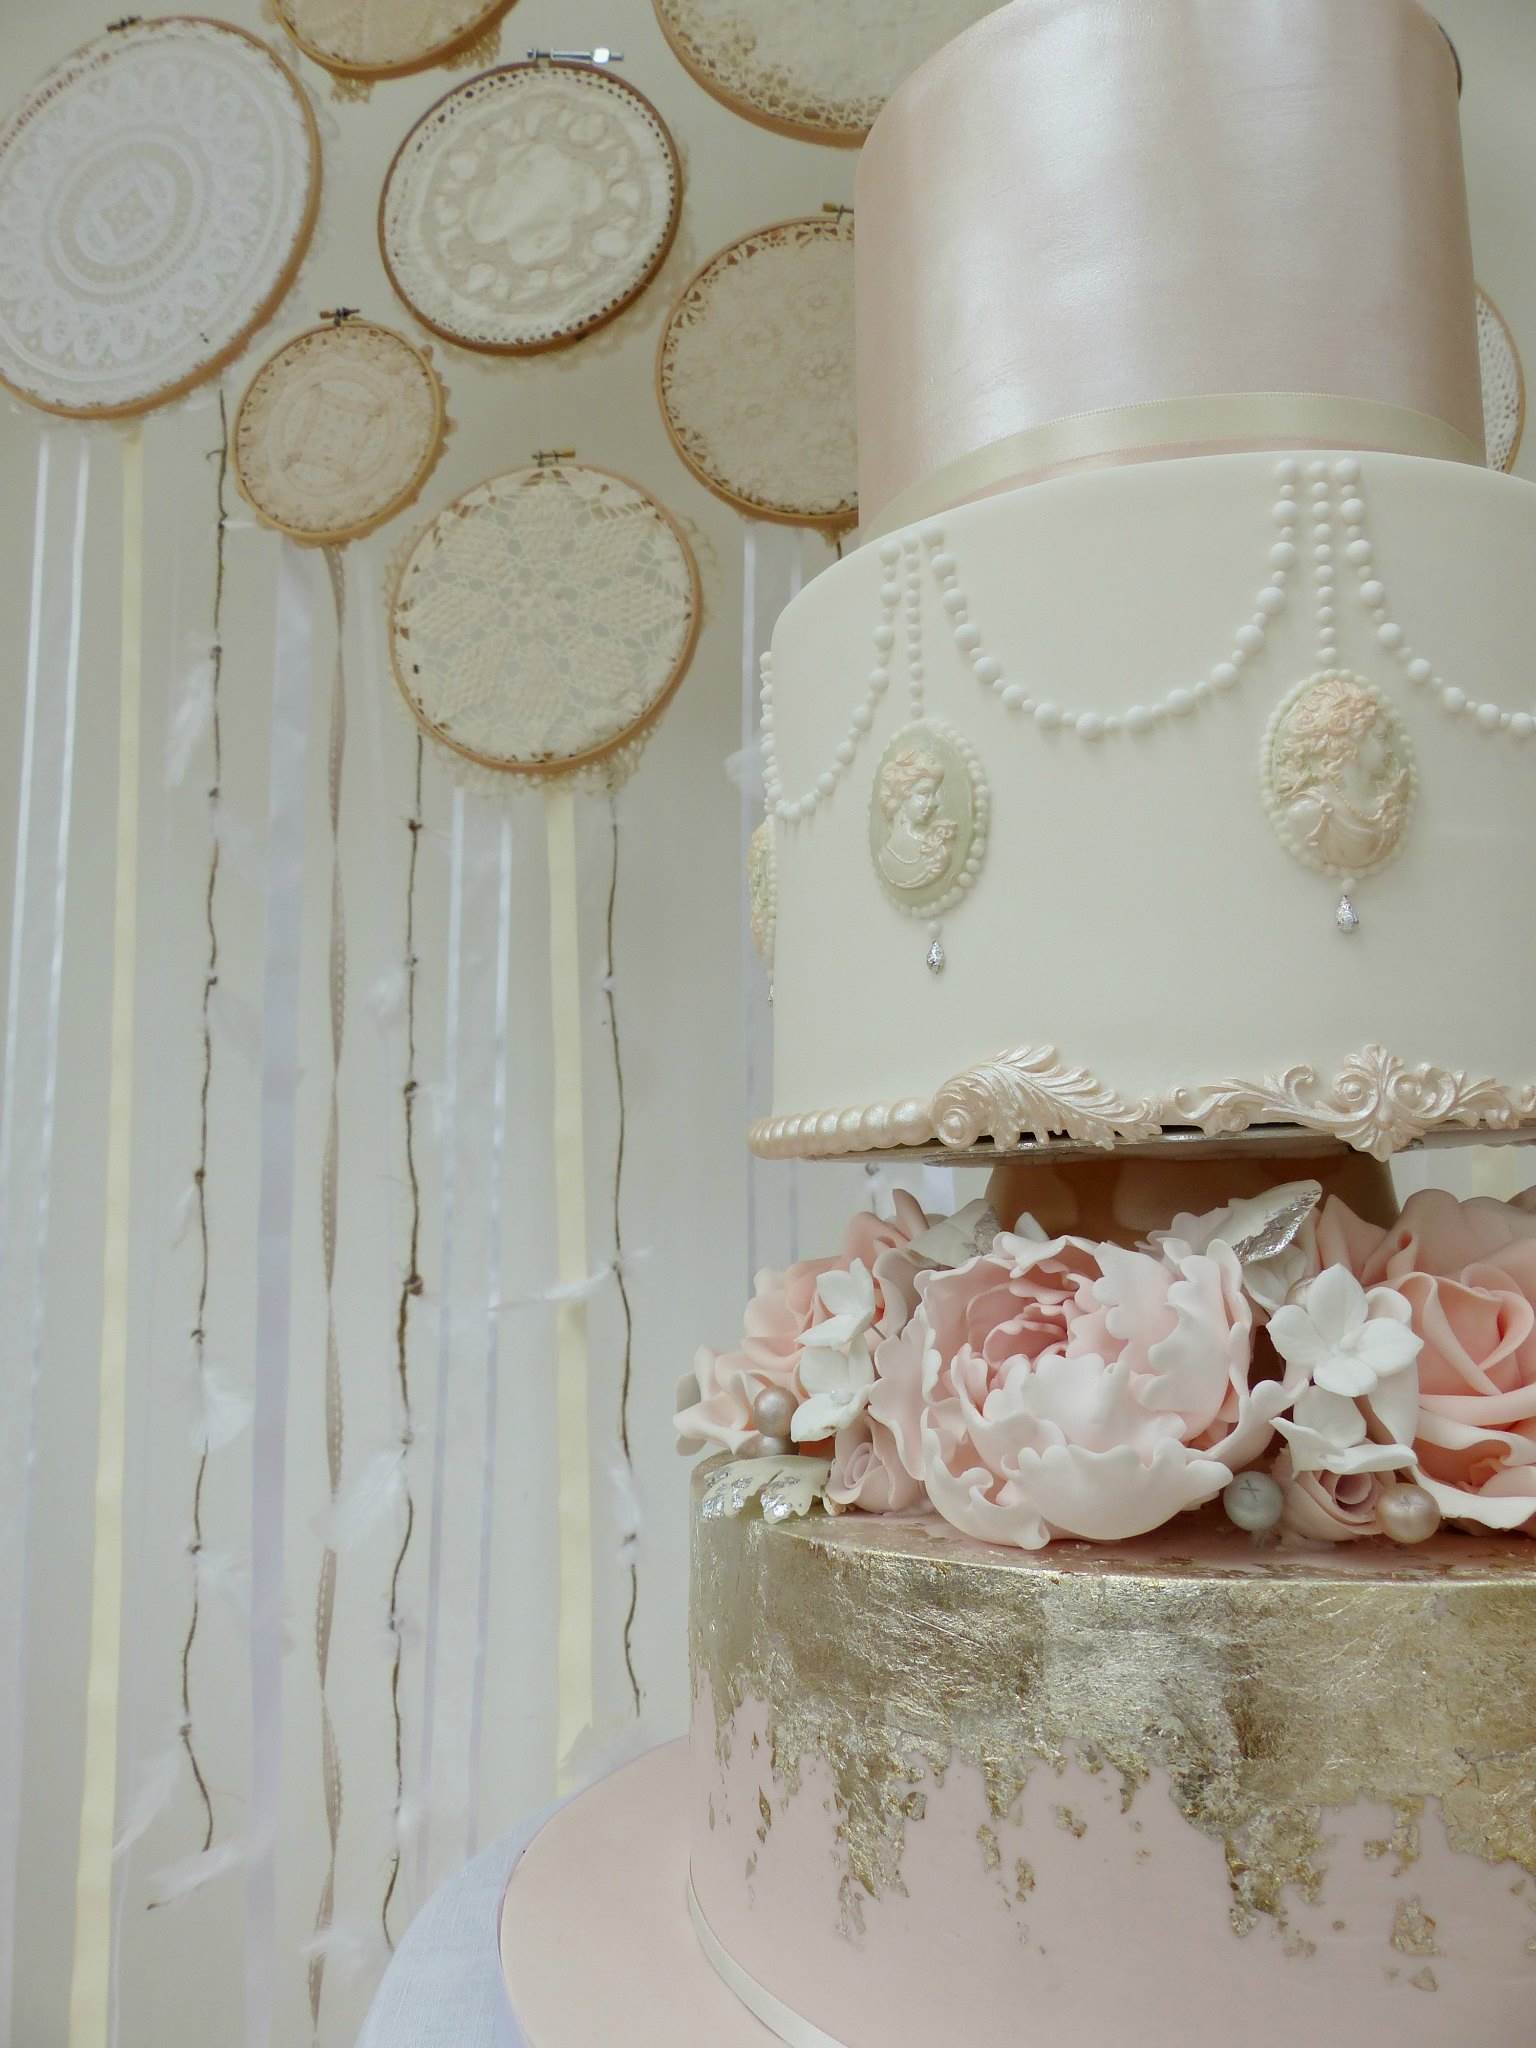
I love to design simple yet creative projects always using vintage items that I have sourced from jumble sales and charity shops, importantly making sure that I never actually break the unique pieces, so that they can be enjoyed again and again. Here I will show you how to make a beautiful wall hanging for your bedroom using pretty vintage doilies and embroidery hoops. This will also look amazing as a wedding wall hanging, as a backdrop to your cake table or behind where you declare your vows to each other.
Materials needed:
- Vintage doilies of varying sizes.
- Wooden embroidery hoops in the same sizes as the doilies
- A large branch
- Fish wire
- Selection of ribbons, string, feathers, pom poms
Equipment needed:
- Scissors
- Glue Gun
- Safety pins
- Clothes rail (optional)
Step 1: Gather all your doilies together to match their sizes against your embroidery hoops. Make sure that the doilies are slightly bigger than the hoop to give you enough material to pull through the sides.
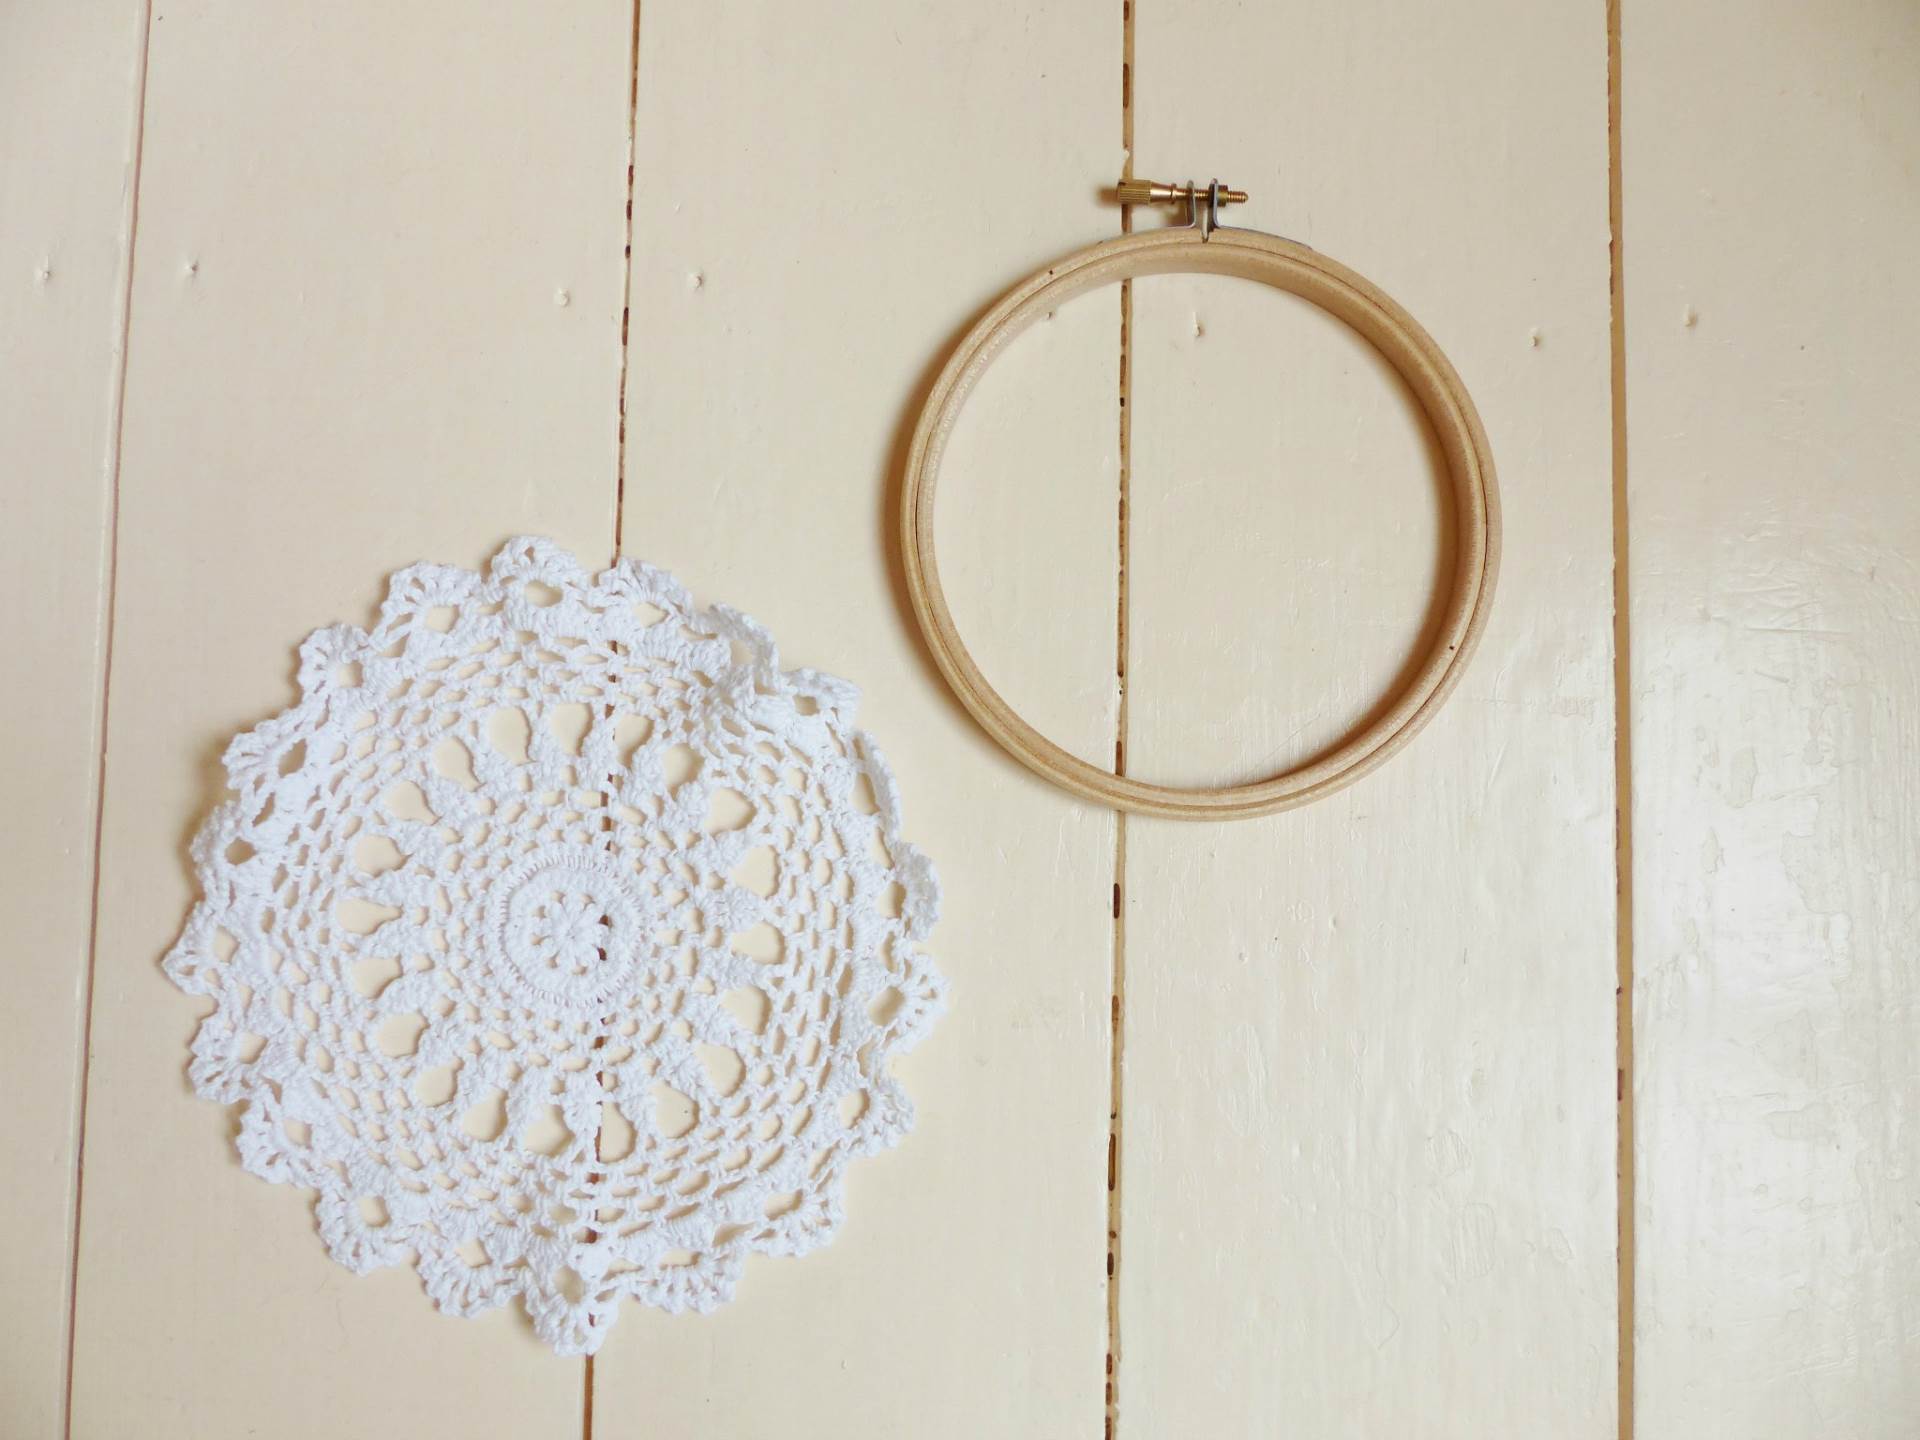
Top Tip: The wall hanging looks best if you use a variety of hoop sizes from 4 inches up to 10 inches. Keep your eyes peeled in charity shops for these, alternatively some craft shops sell them in bundles. It also works well if you use different colours and materials of doily – I have chosen creams and whites in cotton, silk and wool.
Step 2: Separate the hoops and lay the doily flat across the outer ring ensuring that the pattern is central to the hoop.
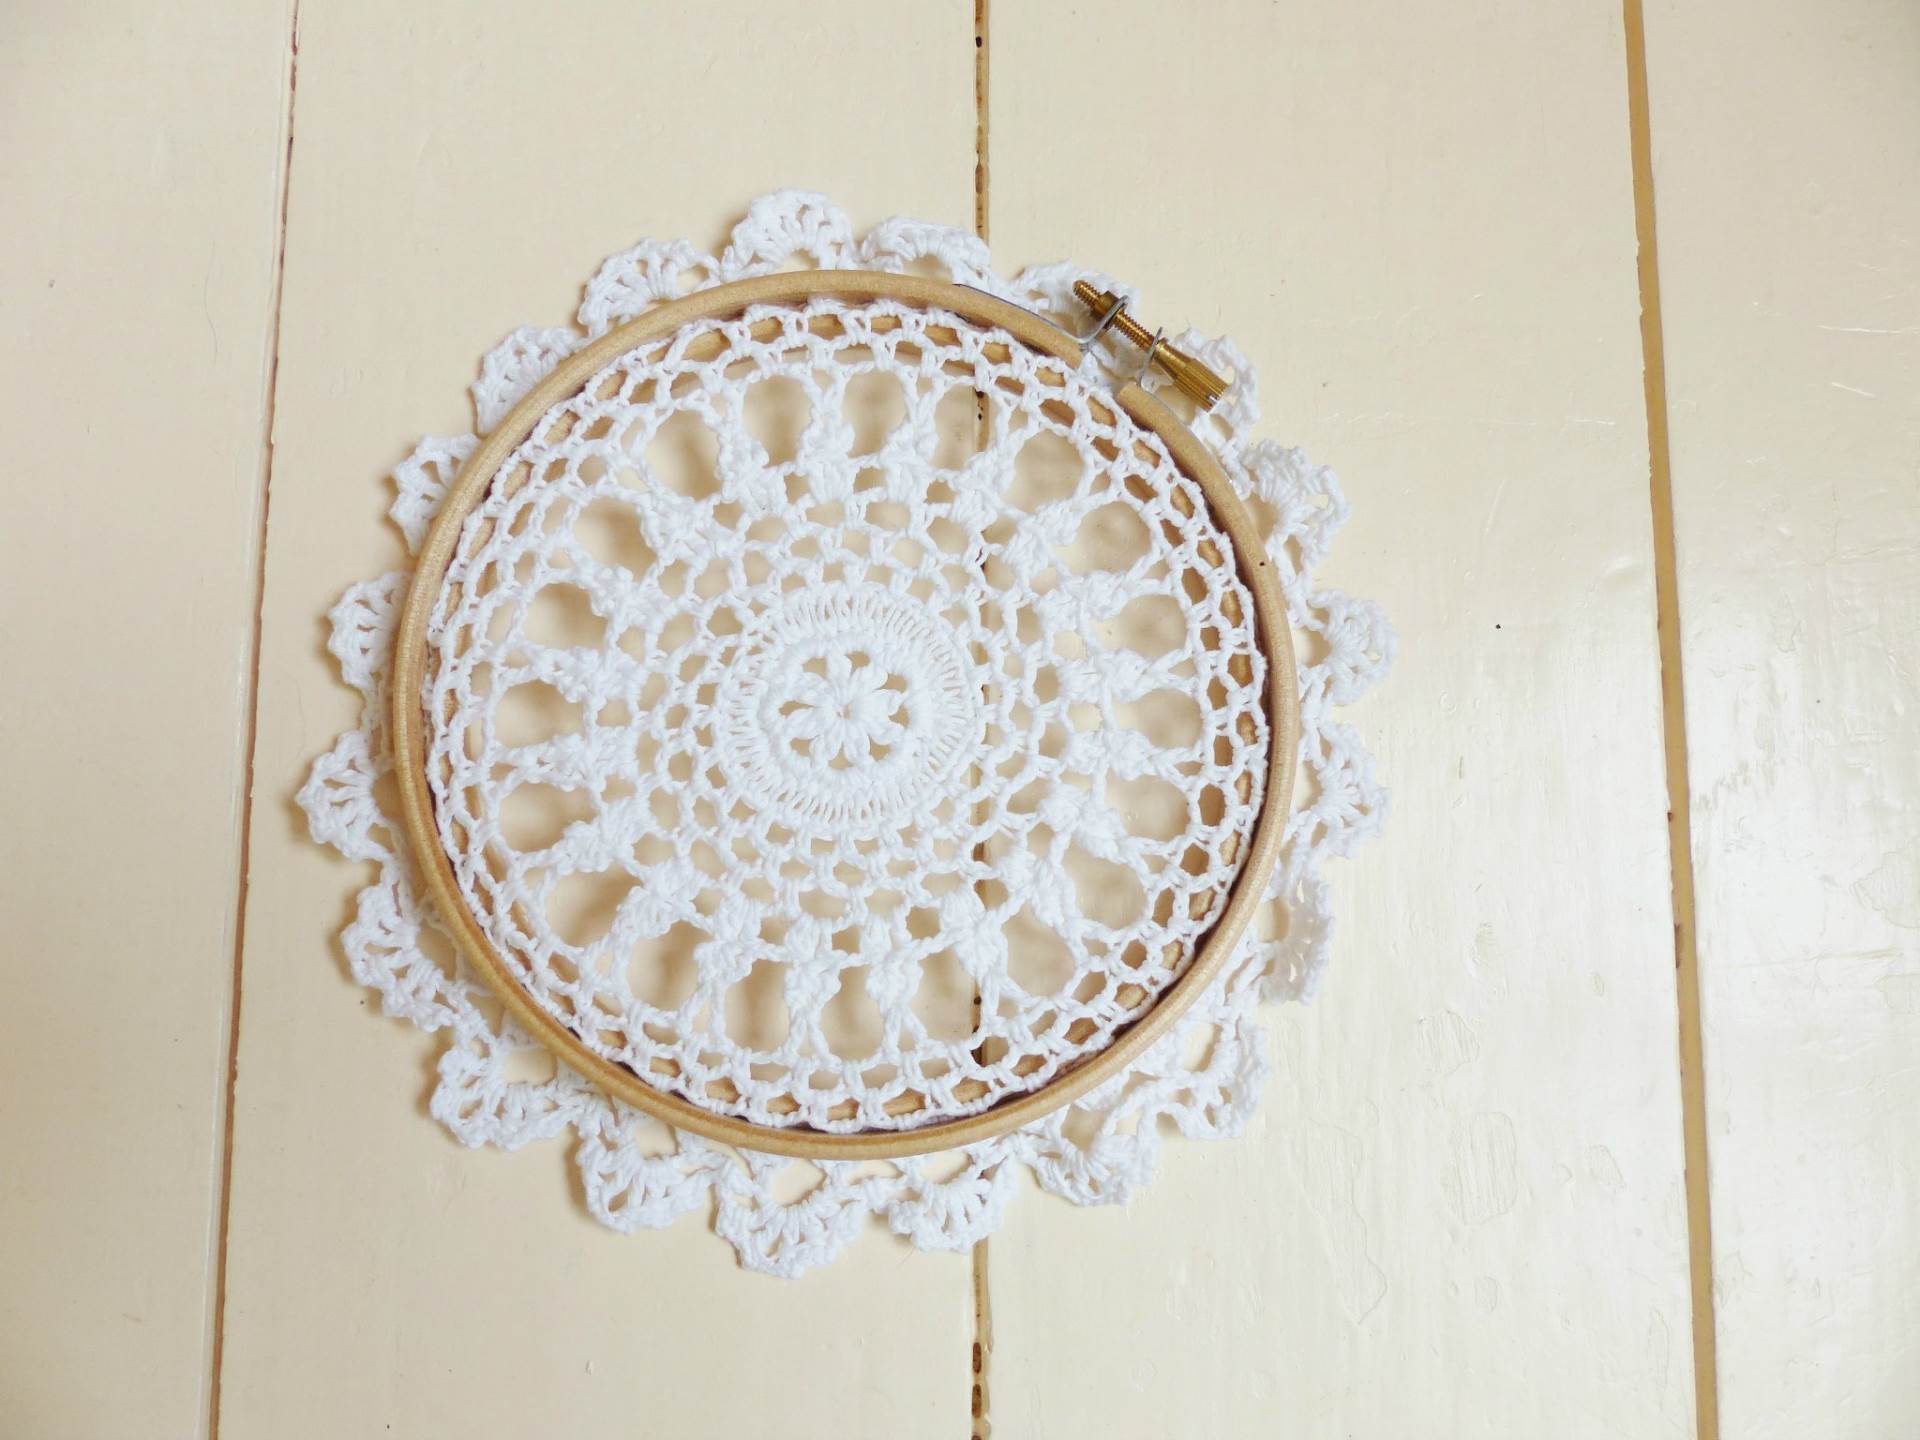
Step 3: Place the inner hoop on top and push down to hold the doily in place. Before it is fully pushed down, pull the edges of the doily gently through to ensure the doily is held taut. Continue to do this for the rest of the doilies. I used 17 doilies in total.
Top Tip: You may wish to cut the edges that are poking out of the hoops but I feel this should be avoided so that you can use the doilies for another project in the future. I have left mine hanging softly, but you could choose to use safety pins to pin them up.
Step 4: Find a great branch to hang the creation from; mine came from my garden but they can be bought or foraged. One by one hang the doilies using fish wire from the branch. There is no right or wrong way to hang them – you may want to create a full wall, an arch or like me, mix up all the sizes.
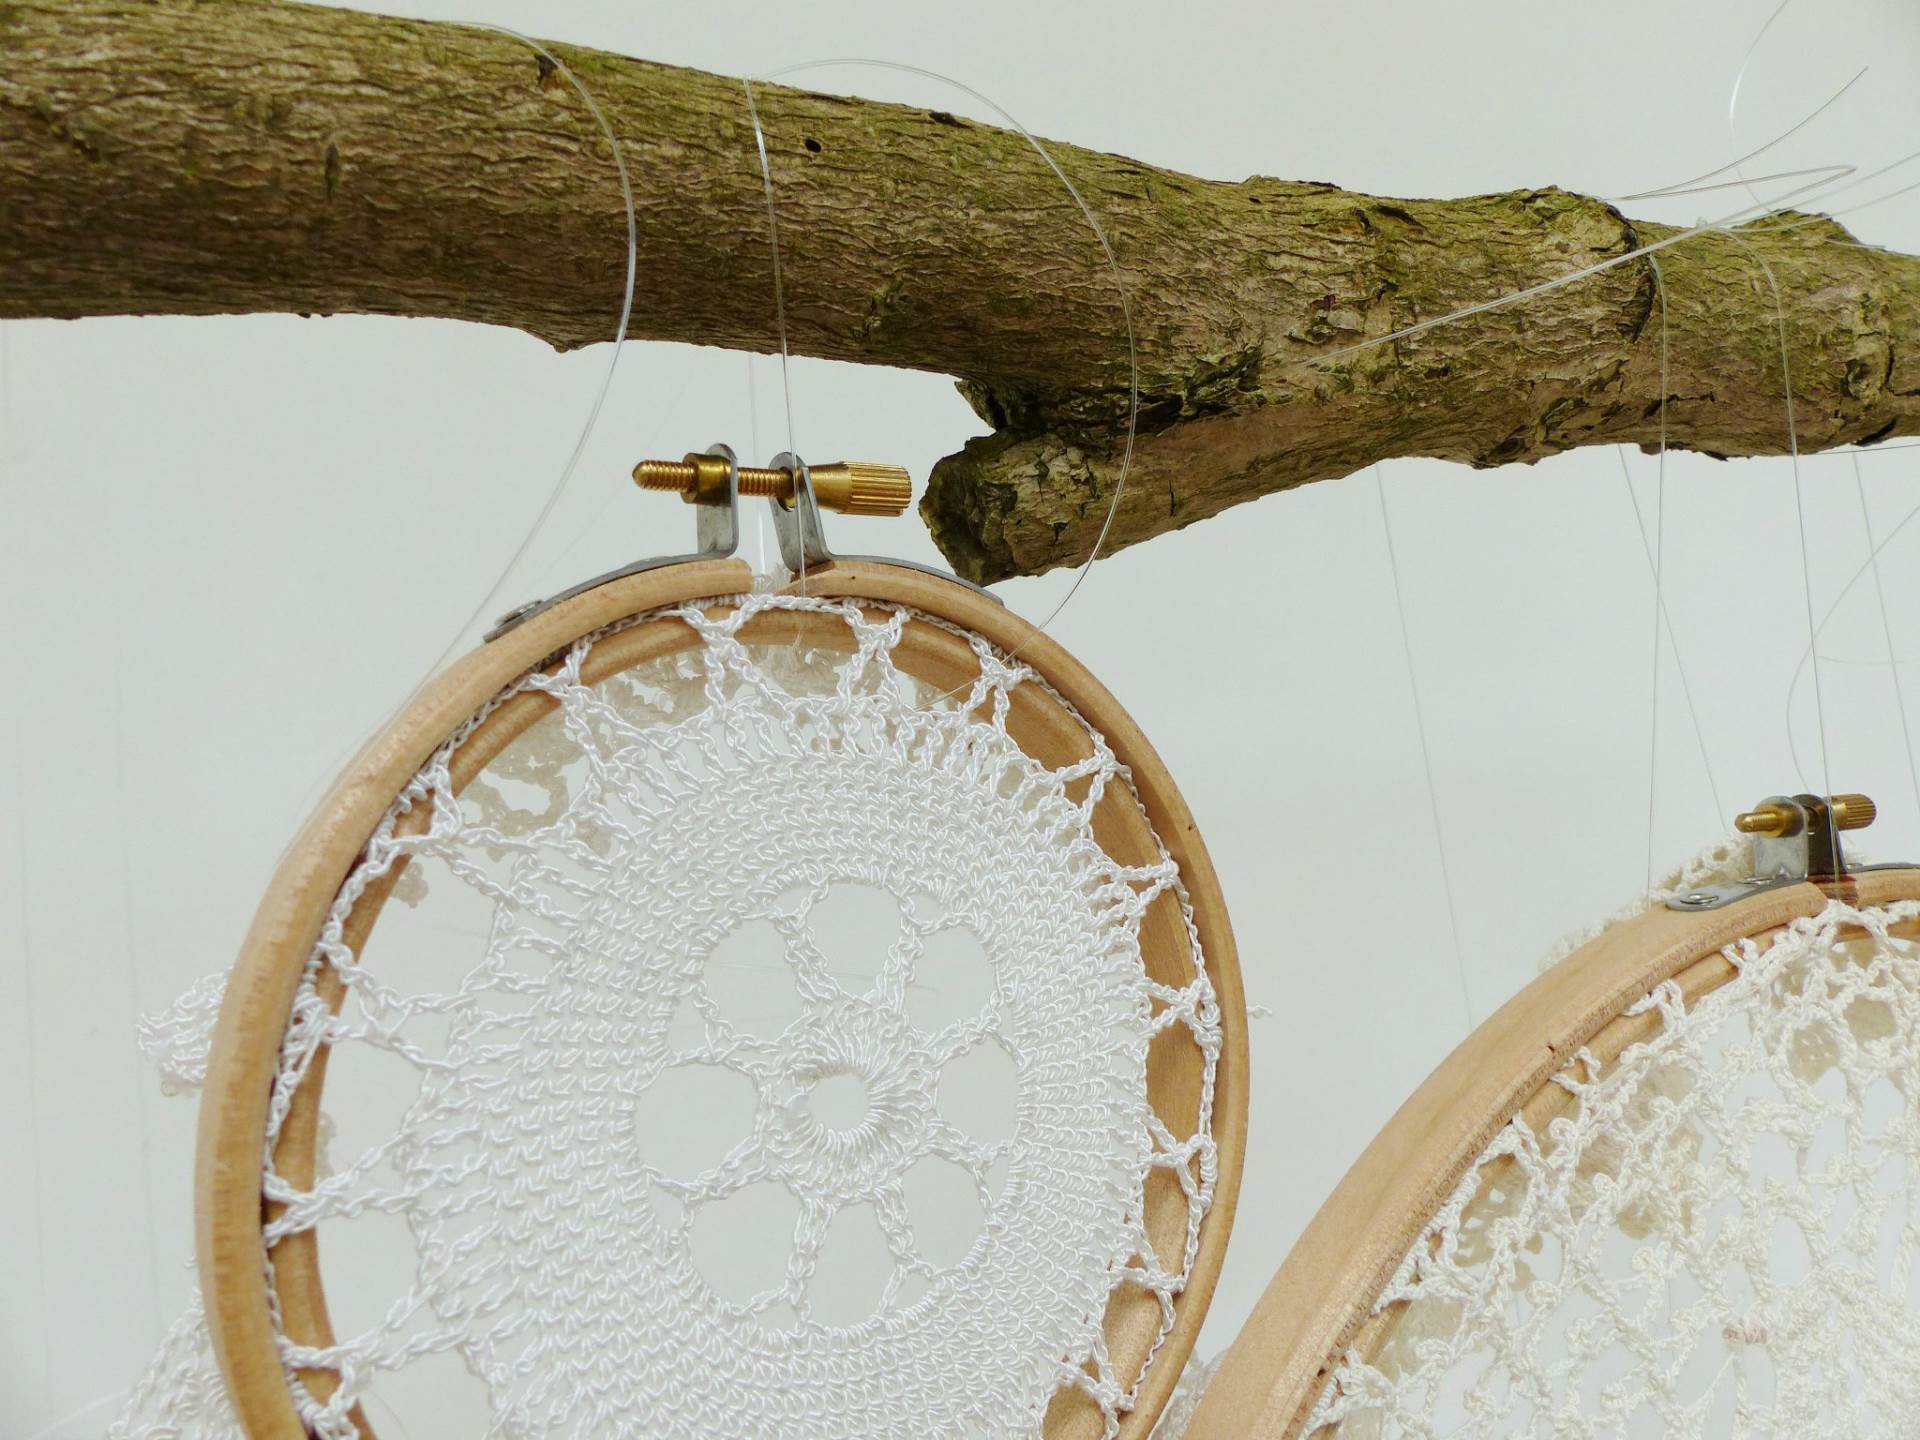
Top Tip: I found it easier to hang the branch to a clothes rail so I can hang the doilies one by one and then step back to look at it. If you don’t have one you can always just lay it out on the floor.
Step 5: When you are happy with the formation, tie each one together using fish wire to hold them in place. Trim off all the end of the wire when you have finished.
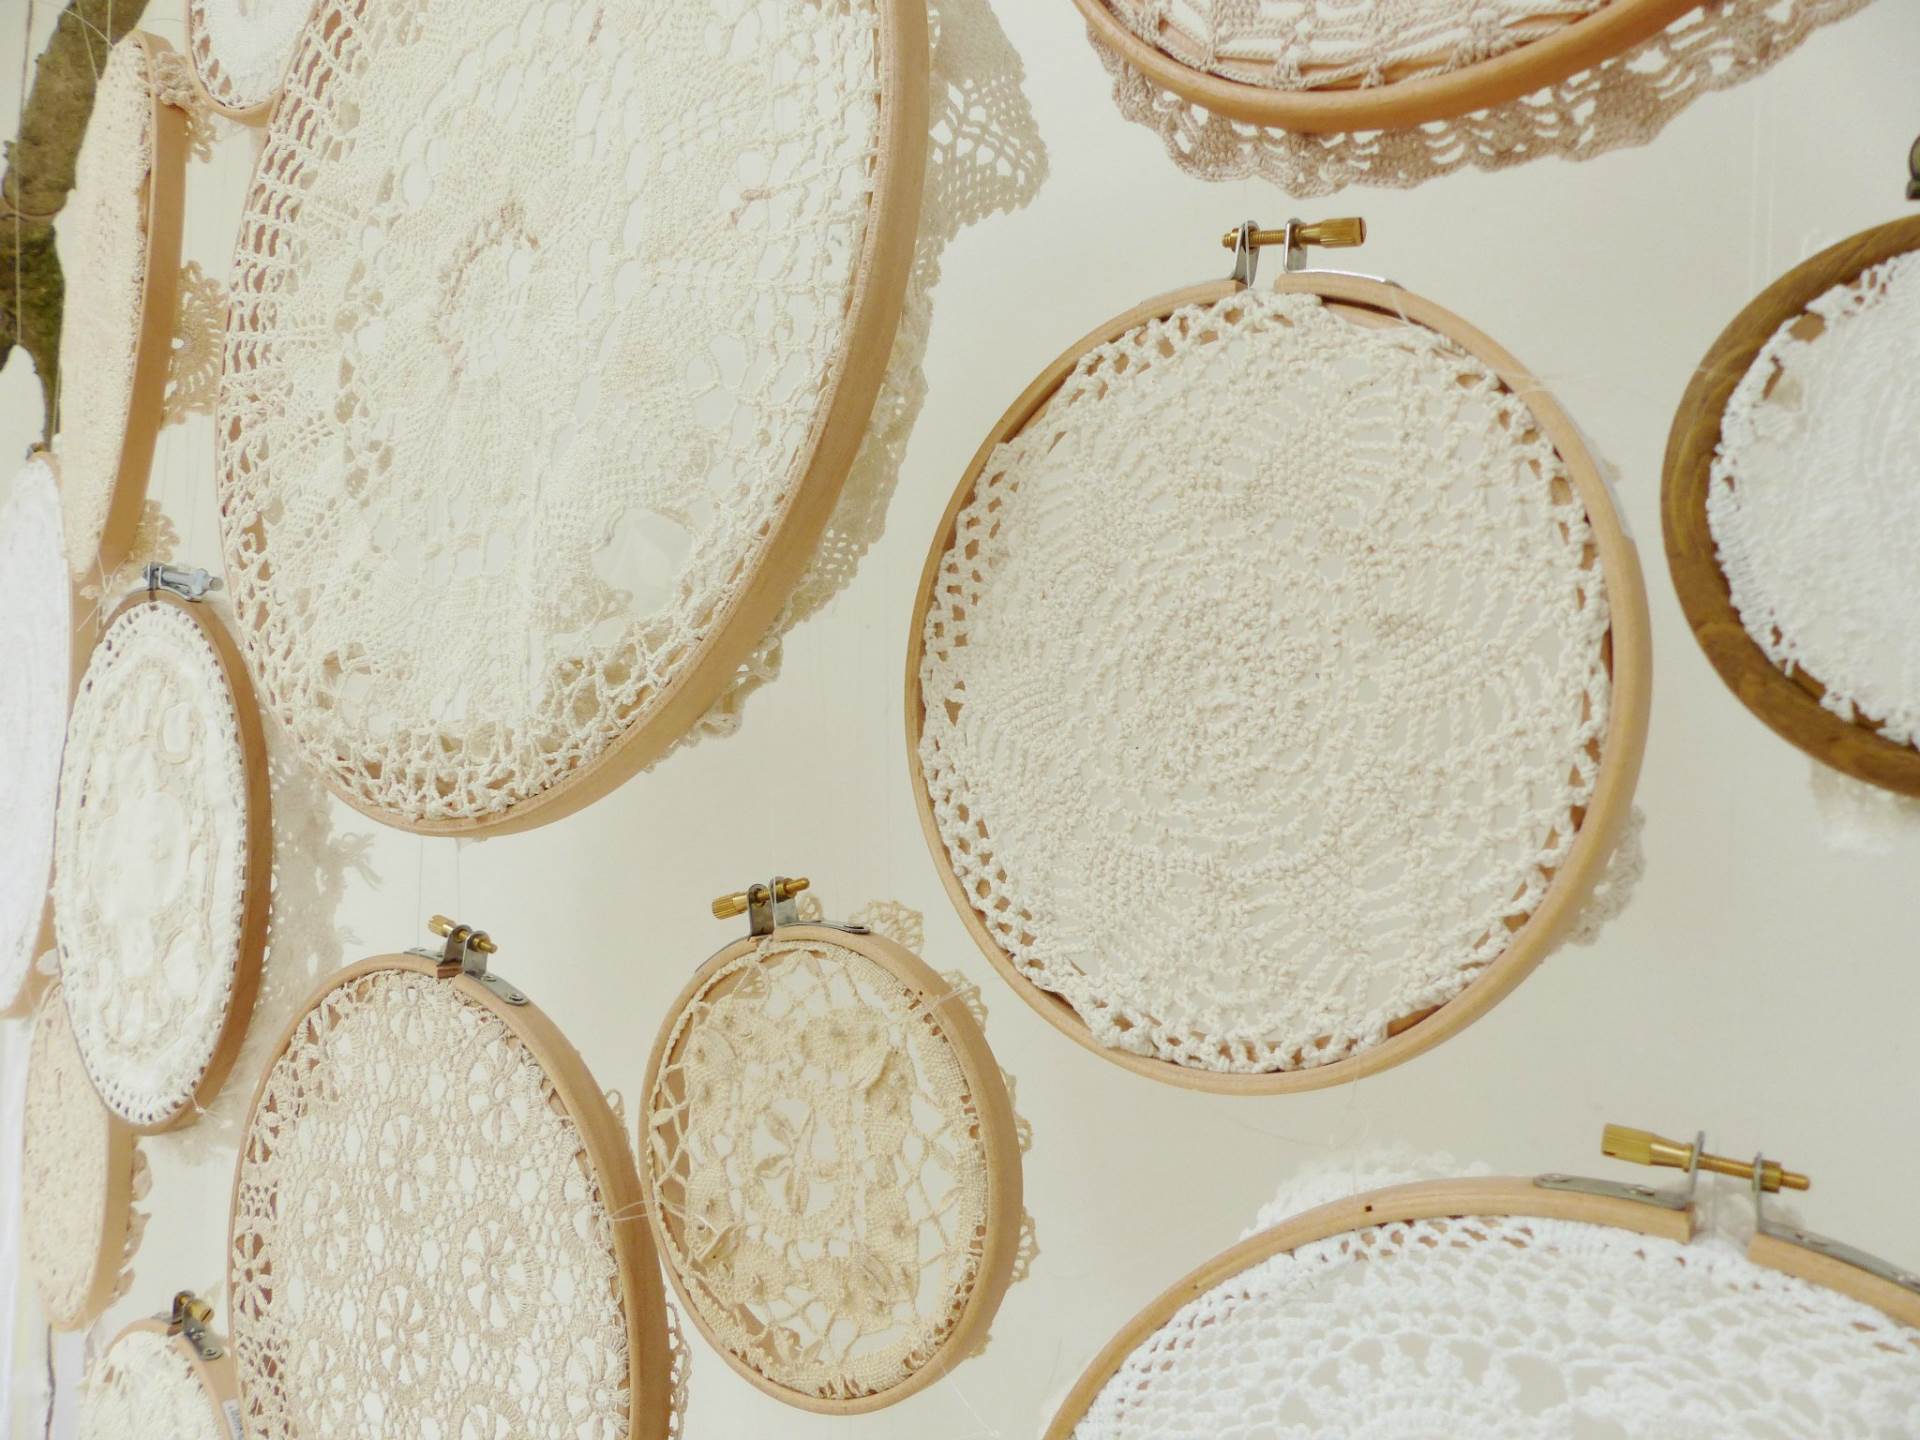
Step 6: Cut lengths of ribbon to hang down from the lowest hoops and glue them onto the back of the hoop using a glue gun. Add other textures to this by using lace, feathers and pompoms tied with string.
This article is by our director Kate Beavis for Reloved magazine.
The cake is by Tier By Tier

