Today, exclusively for our Unique Brides we are teaming up with the Glam Hatters to show you a DIY Tutorial for a vintage inspired flower fascinator.

You will need:
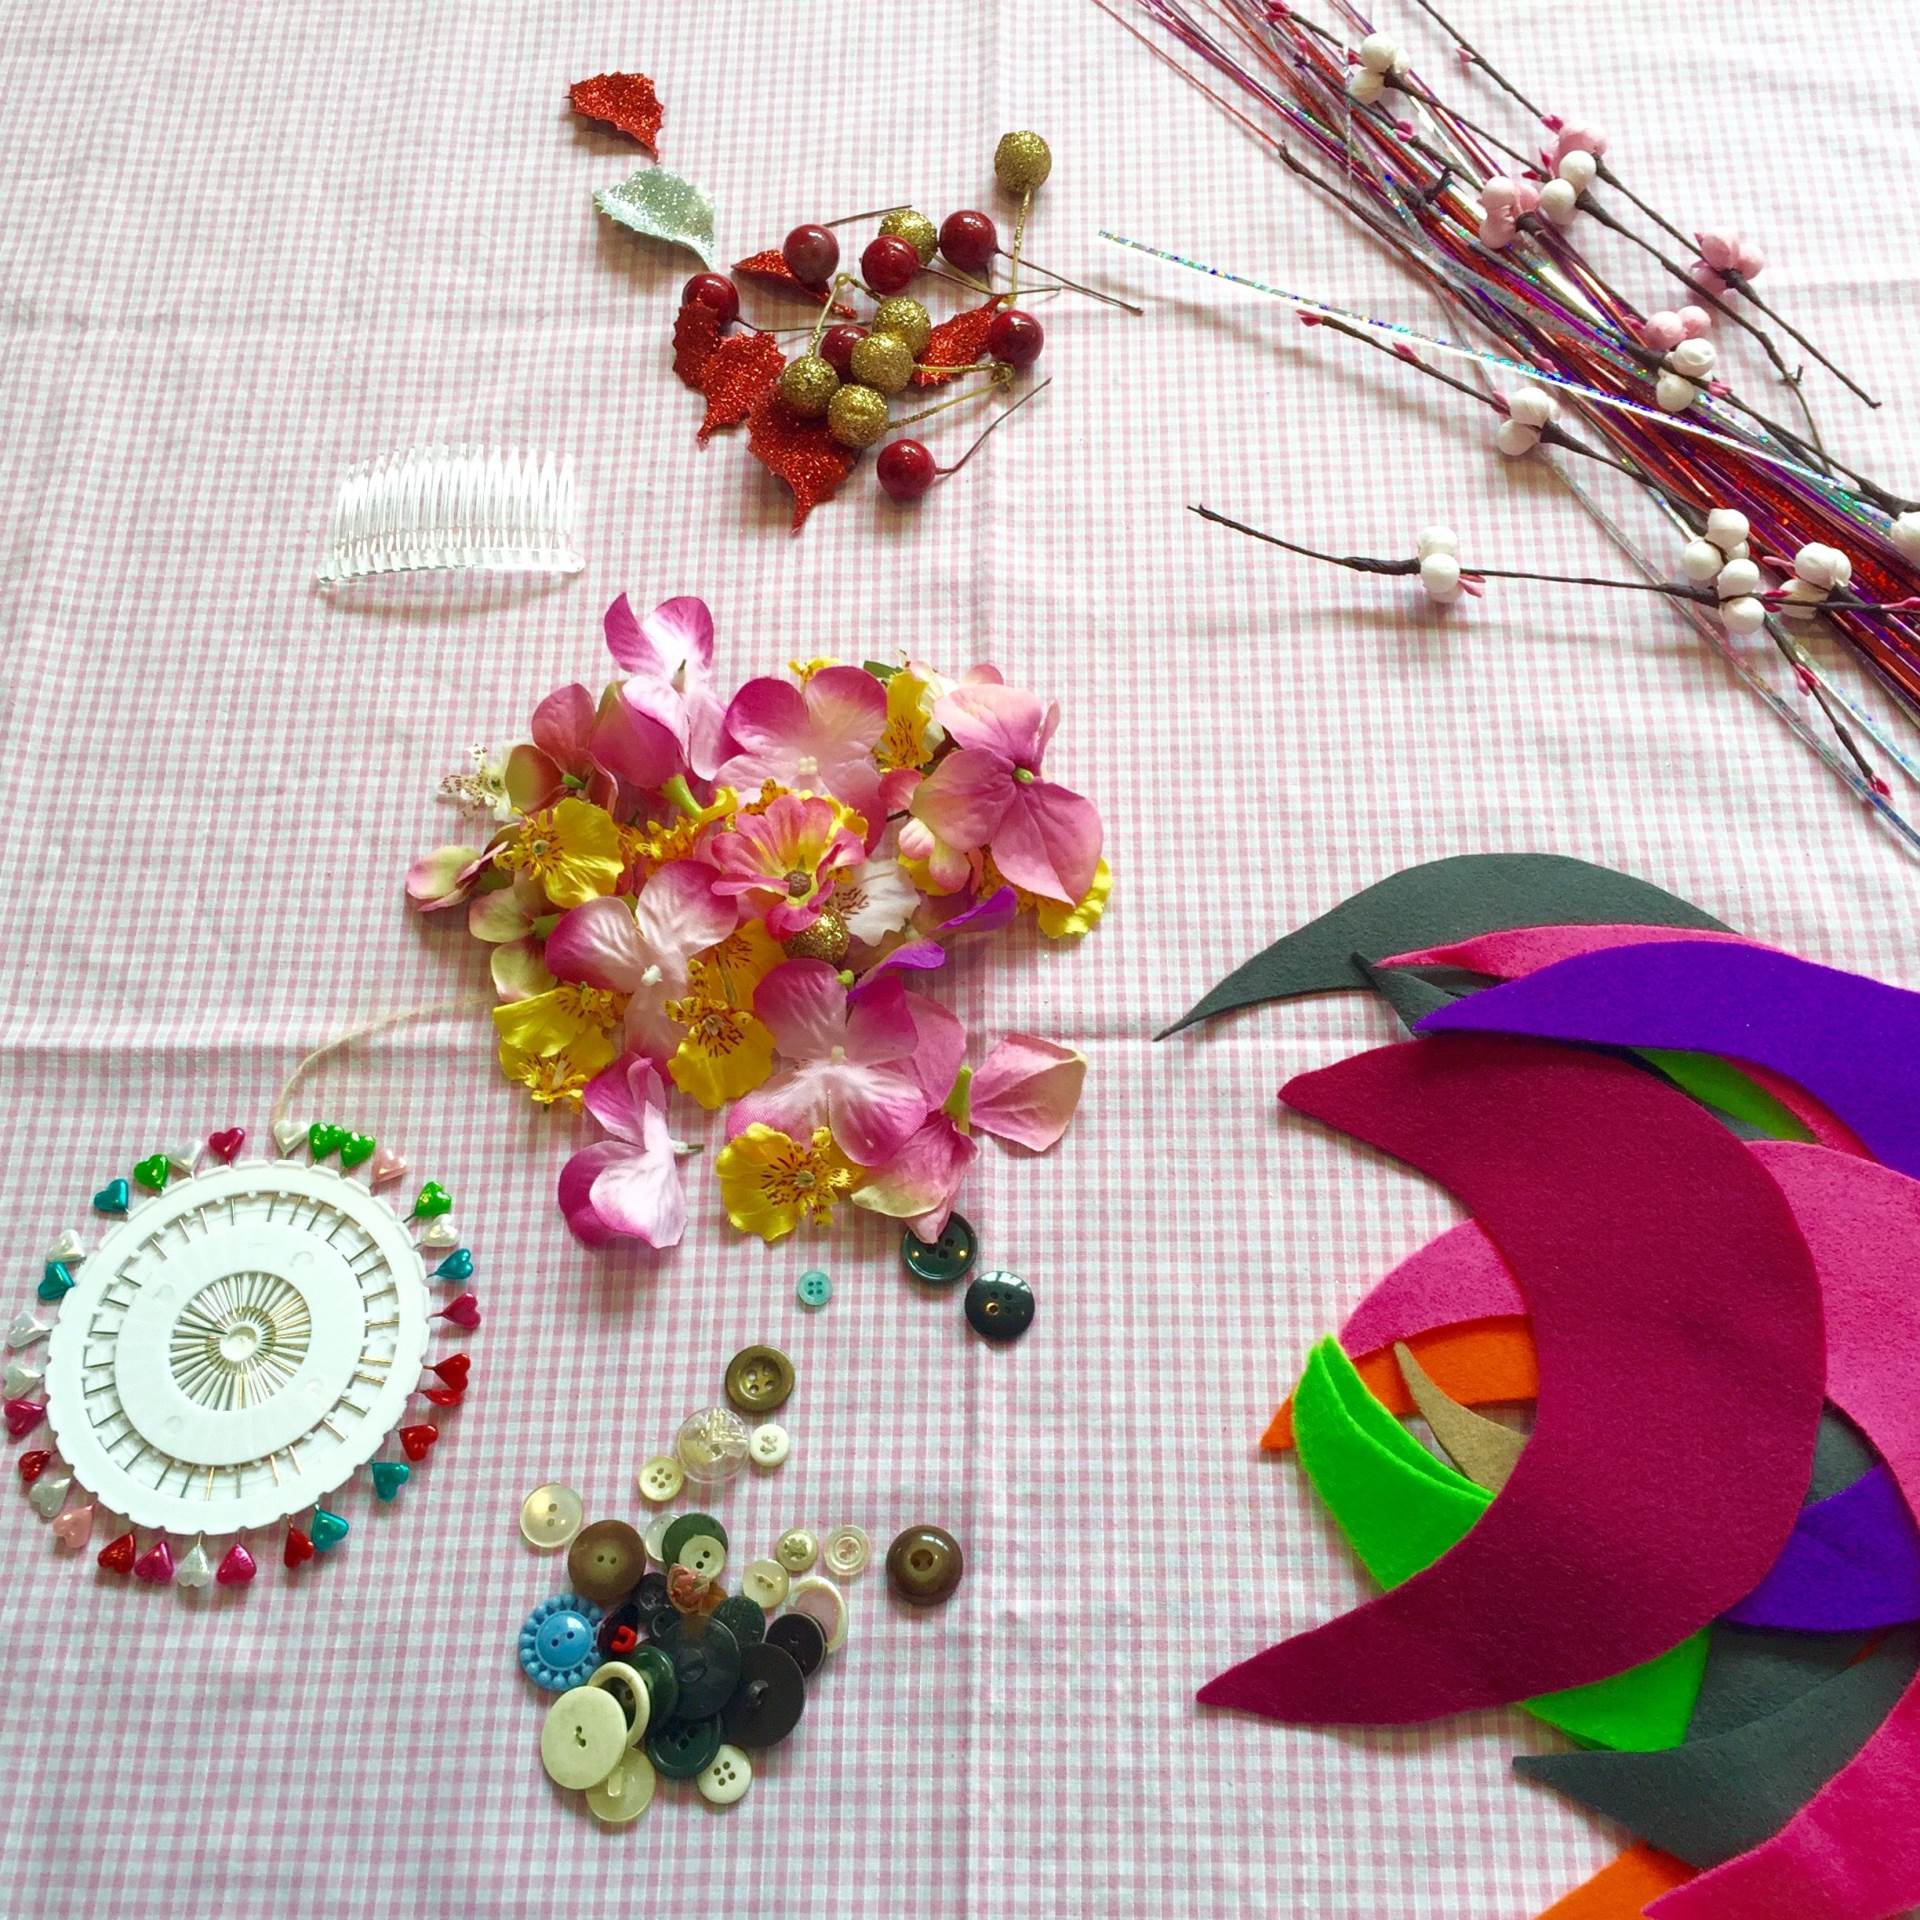
- Plastic or metal comb (most chemists sell these).
- A square of felt – check out Cass Art – they sell them by the bag if you get the bug!
- Thread.
- Pins & needles.
- Fabric flowers (try John Lewis for bunches of these and cut them down).
- Vintage buttons (ask your Mum/Nan/local W.I.)

1. Cut your felt into a crescent moon shape.
2. Twirl into a cone shape and pin together.

3. Using a double thread and starting from underneath sew together.
4. Place your flowers within the cone and stitch through petals (close to the stem but not through the stem).

5. Add more flowers to create a clustered look.


6. Add in a stem – I’ve used a cherry blossom but anything with length will look cool and stop it from looking too pretty pretty!

7. Stitch around the stem and cover up stitches with a flower petal.

8. Add a leaf shape – if you can find a sparkly one it gives a lovely party look or add a plain one for more of a daytime look.


9. Add a vintage button – I delved through my buttons and found this lady bird which I love. Anchors give a nice Rockabilly vintage look. Glass beads always look elegant.

18. Turn over the fascinator and stitch between the middle 5 teeth. Be careful not to stitch your flowers down whilst stitching the comb on.
19. Here is your completed fascinator.

For more beautiful fascinator making including our fabulous Fascinator Making Hen Parties with Vintage Afternoon Tea please visit www.glamhatters.com.


