To understand this tradition, you have to think back to the old rhyme: “First comes love, then comes marriage, then comes the baby in the baby carriage!”
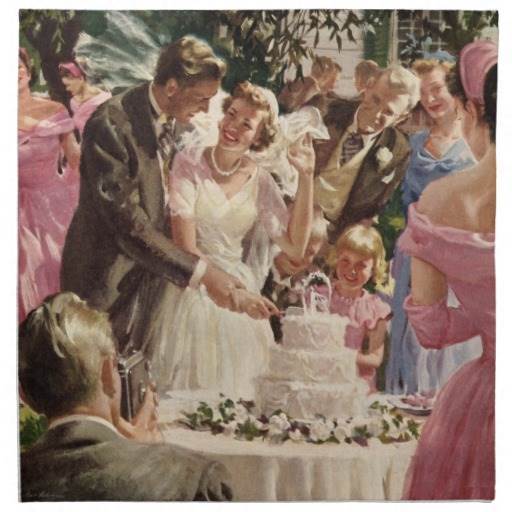
It used to be thought that once a wedding took place, a baby was going to come shortly after, so therefore the wedding and christening ceremonies were often linked, as were the respective cakes that were baked for each occasion as these were expensive items.
source
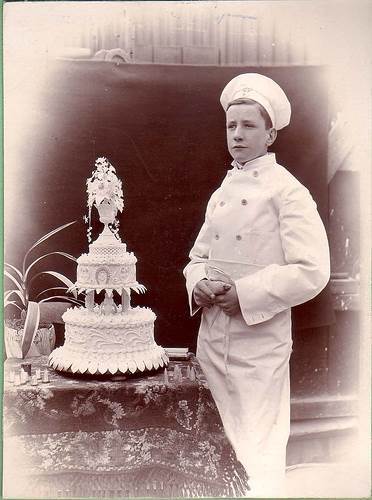
With elaborate, multi-tiered wedding cakes becoming a major trend in the 19th century, the christening cake began to take a back seat to the wedding cake. Since the top tier of the wedding cake was almost always left over, couples began to see the christening as the perfect opportunity to finish the cake. Couples could then logically rationalise the need (and cost) for three tiers — the bottom for the reception, the middle for distributing shortly afterwards, and the top for the christening.
source
These days, the time between weddings and christenings have widened often by years, and the two events have become disassociated. The reason for saving the top tier has now changed. Now, sometimes couples enjoy saving the top layer of their wedding cake to eat on their first anniversary as a pleasant reminder of their special day. Sounds like a sweet take on the tradition to us.
If you do want to keep the top tier follow these simple instructions –
1. Remove any cake toppers or decorations that are not edible.
2. Place the cake on a plastic plate or wrap a cardboard bottom with aluminium foil. If your cake is already on cardboard wrap it in foil so your cake doesn’t taste like cardboard.
3. For butter-cream, place the wedding cake in the freezer for about an hour to let the icing harden. This will allow the cake to maintain its shape and prevent the plastic wrap from sticking to it. For fondant covered cake you can skip this step.
4. Remove from the freezer and wrap the wedding cake or anniversary cake in plastic cling wrap several times. Wrap tightly to remove any air. Don’t worry about using too much; wrap it up good and tight.
5. Use aluminum foil and wrap the cake two or three times covering all sides at least twice. This will further protect your cake from freezer burn or bad taste.
6. Place your cake in a cake airtight container and then place into the freezer.
7. The day before celebrating your anniversary or christening, move the cake to the fridge, leaving it in the cake container and allow to thaw slowly. A few hours before serving remove the wrapping and leave at room temperature. Finally, enjoy!
e don’t see so often now? Share one of your wedding memories with us and we’ll feature it in an upcoming blog at National Vintage Wedding Fair.
Are you going to be a vintage bride soon? Come visit one of our upcoming vintage wedding fairs in Cambridge on 14th September, Harrogate on 21st September, Stoke Newington, London on 12th October or Chiswick, London on 9th November and find everything you need for your big day. For more details check the website – www.vintageweddingfair.co.uk.
Written by Sarah Gorlov

