You will no doubt want to look your best on your wedding day and that includes making sure your lips are prepped and in tip-top condition whether you’re wearing lipstick or not! Making sure that your skin is at its best will mean that your make-up will look its best and last longer. We catch up with Katy Angelidi of Makeup By Katie who gives us her top lipstick tips and tricks for your wedding day and beyond…
Preparation
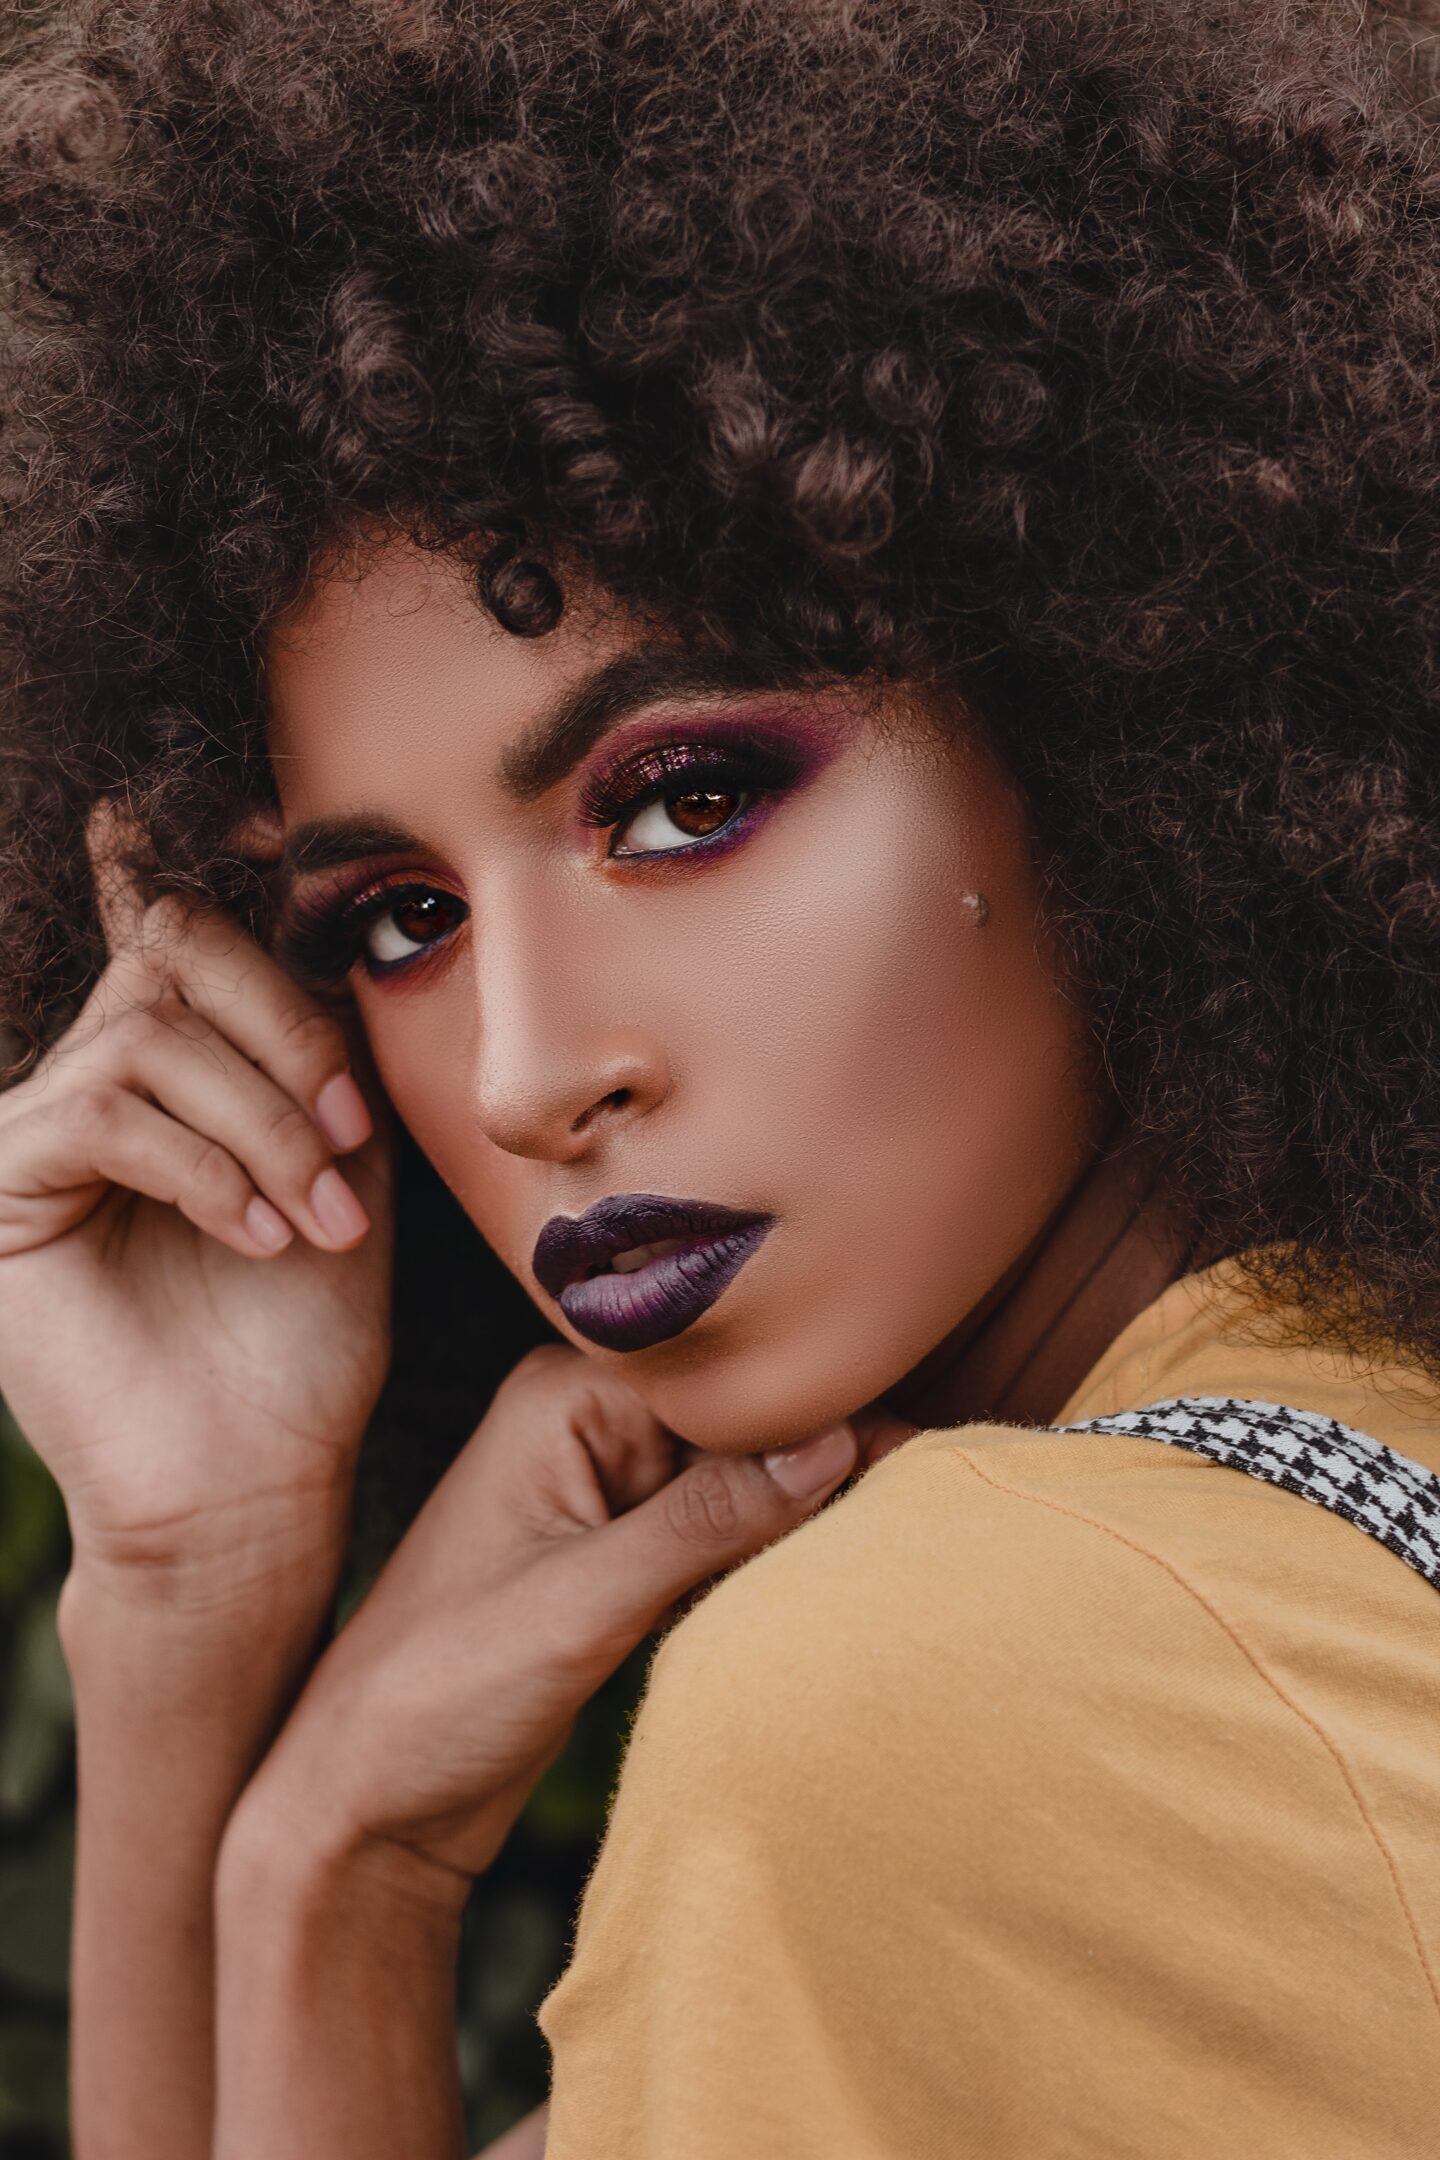
Firstly, you must prep your lips. No lipstick is going to look good on top of dry, flaky lips.
You can start off with a lip scrub; personally, I prefer to make my own using a lovely rich creamy lip balm such as Dr Lipp and a touch of brown sugar. Slather in the balm and massage in, add a dab of sugar and rub in circular motions. Keep it gentle when you get to the edge of the lip line and gently wipe away with a wet flannel. Finish with another thin layer of lip balm. This can be a weekly treatment, but it’s a good idea to get in the habit of giving your lips a quick, firm rub over with a flannel in the morning and apply your lip balm with your morning skincare.
Lipstick Choice
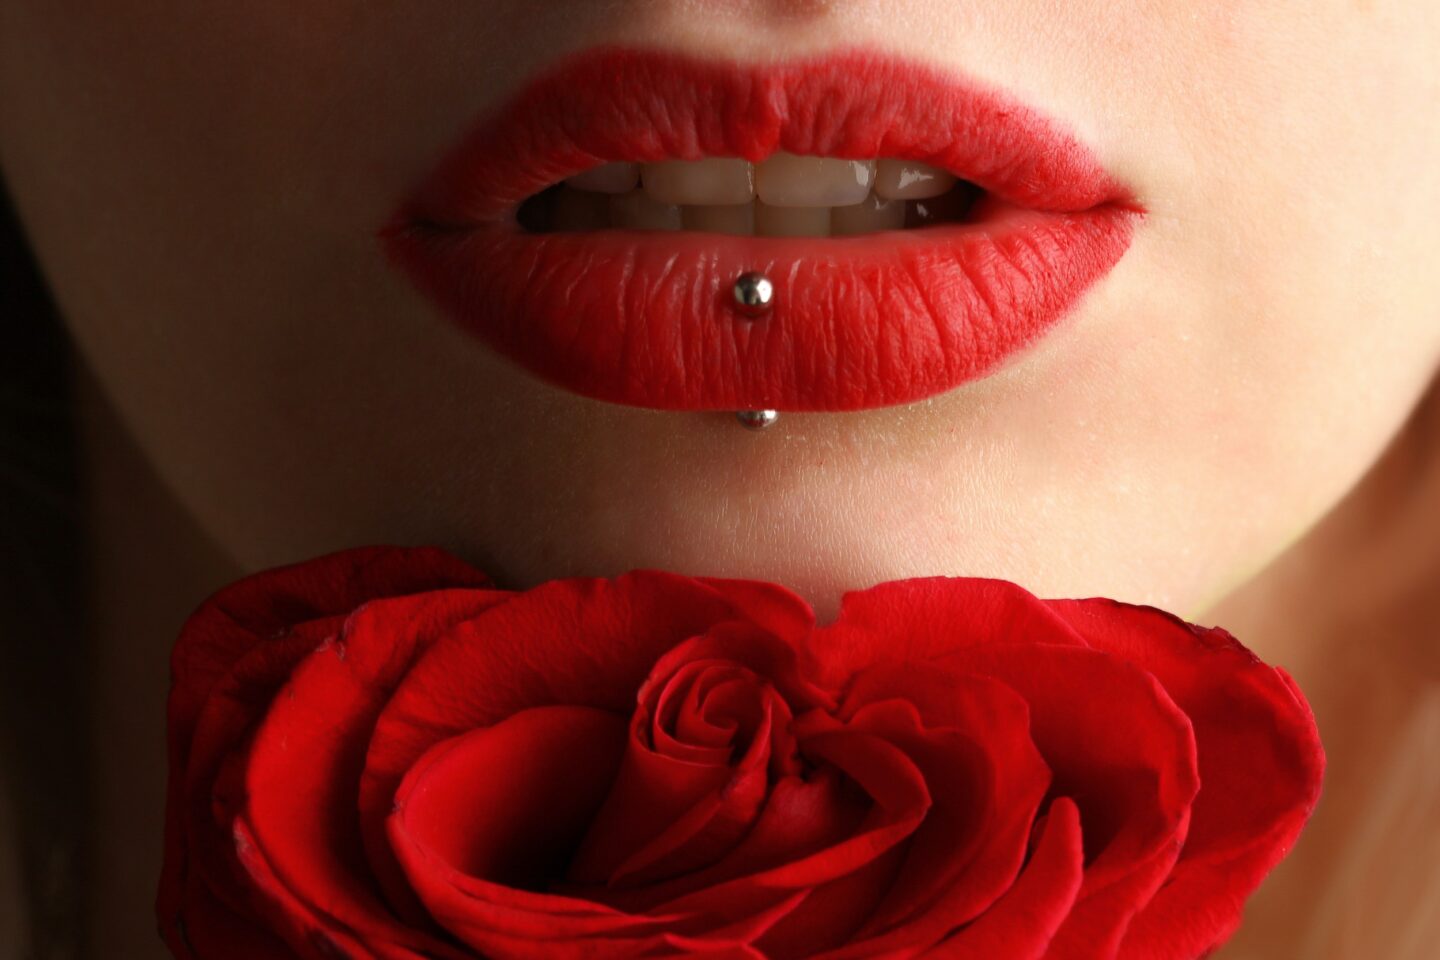
When it comes to picking the lipstick, now more than ever you have SO MUCH CHOICE.
If you want very subtle, low-impact lips you can go for a tinted lip balm or a really sheer lipstick. One of my favourites is Beauty Pie, Master Sweet. It’s slightly deeper than lip tone and creamy and sheer. Blot off excess lip balm first and apply one sheer layer, blot again then apply a second layer. This is KEY to getting more time out of one application but here’s the honest truth: the creamier and more moisturising (and therefore comfortable) your lipstick, the quicker it wears off. The drier and more matte the lipstick, the longer it will last. Layering two thin coats is the same concept as painting your nails or even your walls! Two sheer layers are better than one thick one.
Fancy trying a stronger lipstick but the thought petrifies you? I have 2 ways you can experiment (and experiment you must, because if you don’t try, you’ll never accidentally find the lipstick shade you never thought you’d like but actually you LOVE).
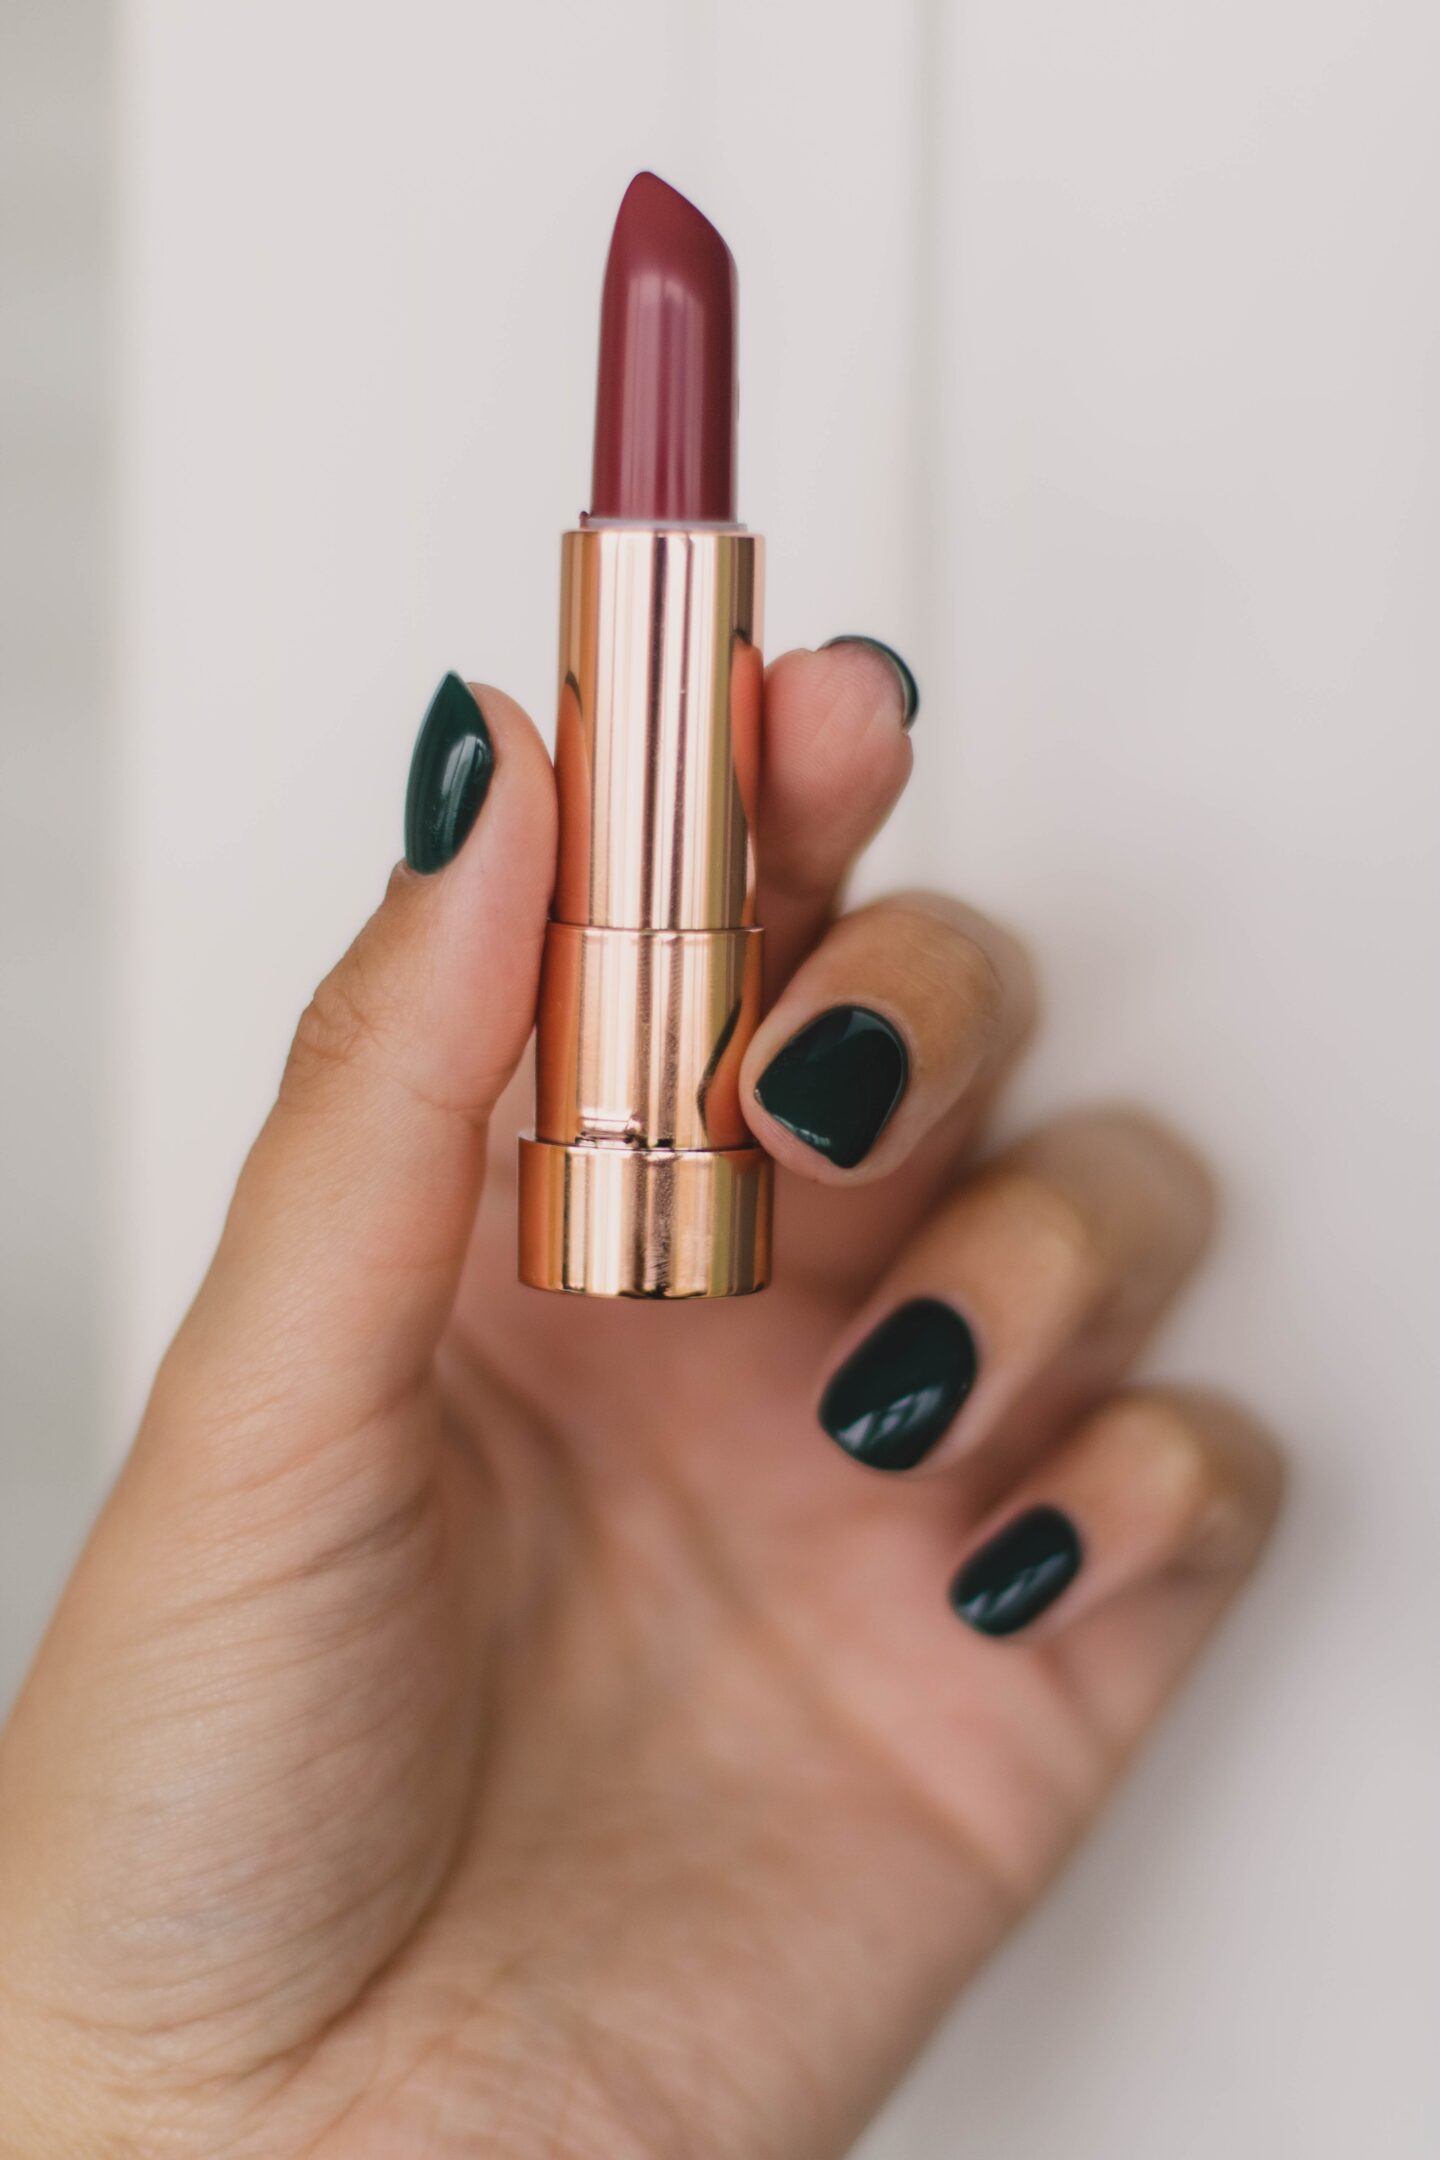
You can try taking the stronger lipstick and instead of swiping, try taking a fingertip of colour and softly pressing this over your lips. This creates a soft, translucent stain rather than a bold opaque finish, (you can add a touch to your cheeks too for a cream blush finish). Leave like this or add a touch of balm/gloss on top for softness.
Or, you can do the reverse red lip technique (or Fuchsia/Orange whatever shade you’ve chosen). Instead of applying your lips at the end of the look, after you’ve completed everything else, you do your lips first. This has helped SO many of my clients understand balance and how a stronger lip shifts the eye line, so things need to change. When you apply your lip at the end, around your usual nude lip look, the focus isn’t usually on your mouth but on your eyes. Whether it’s a smoky eye or a stronger eyeliner look, adding a strong lip competes. So, get your base on, add your bronzer and set with powder and before you touch your eyes, get that lip on. Now you can really see clearly where the focus is. You may not need to go so bold with the eyeliner or your usual 2/3 coats of mascara. Allow the lips to be the lead singer and the rest of your makeup can be the backing singer.
Try it! I promise it works.
Some of my favourite bold lips are Velvet Morning by Lisa Eldridge, Mac Morange and YSL 52, an absolute coral classic.
The Finishing Touches
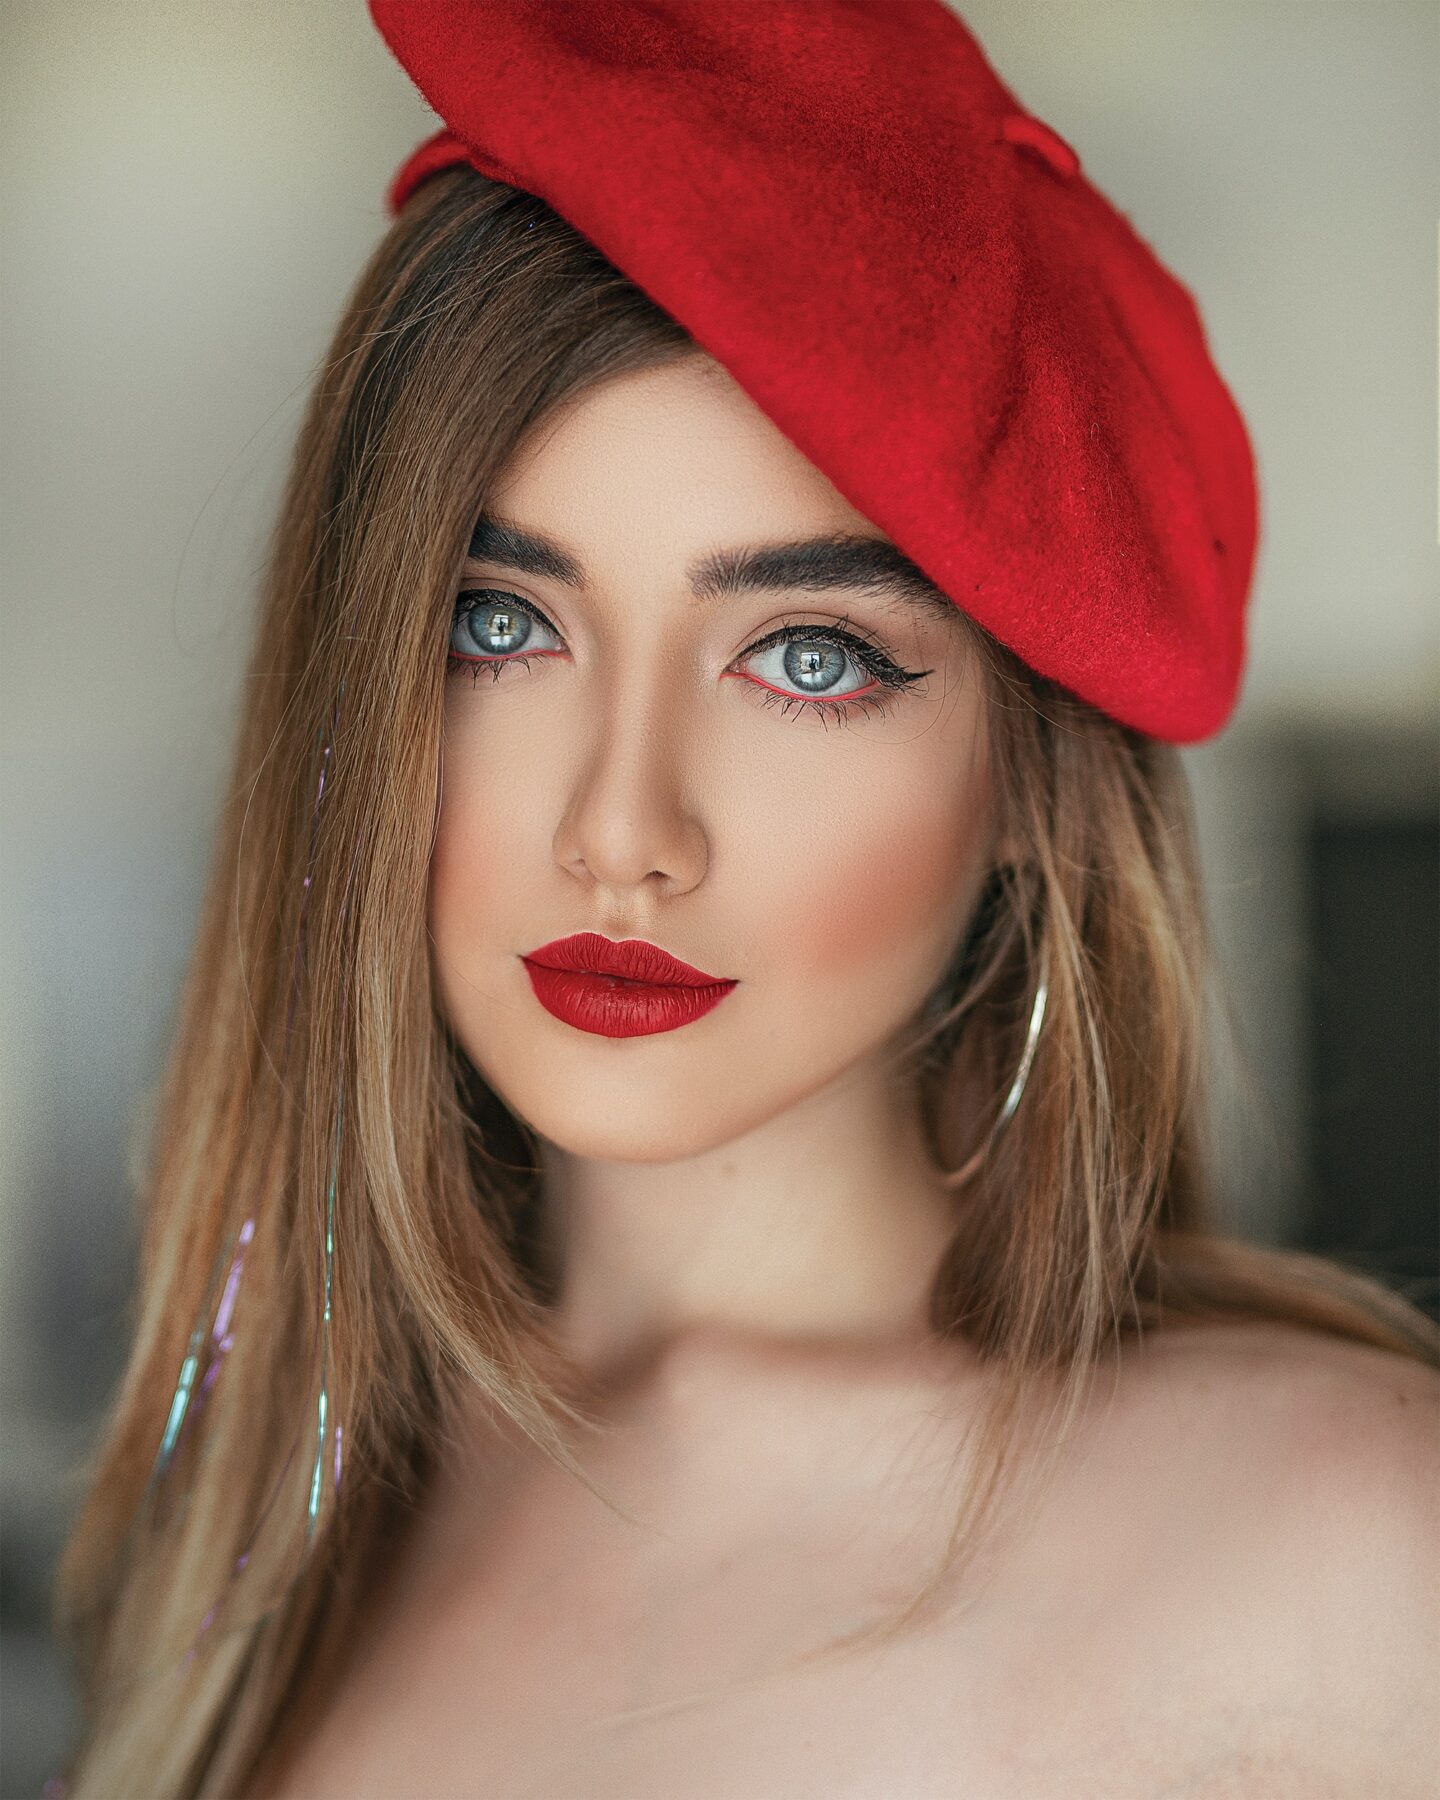
Lastly, lip pencil. At one time, lip pencils were used to carve a really dark, hard line around the lips and we were encouraged to go at least 2 shades darker to create the appearance of fuller lips. Yeah, that doesn’t really work. My favourite lip pencil technique is to use a pencil that’s lip toned or a touch deeper, with ALL shades of lip colour. It’s so much easier and softer looking than the shade that matches your lipstick.
I prefer to take the pencil around the lips AFTER I’ve applied the lipstick (and this applies to all lipsticks and techniques mentioned). This is a really foolproof way to correct any wobbly or wonky lip edges and brings a modern softness to your lip colour. For really long-lasting layers try this combo – Lip scrub, blot, lip balm, blot, lipstick, blot, lip pencil and blend in, blot, one more layer of lipstick and a final sweep of pencil around the edge. This is what I do to my brides for extra insurance.
Just remember- lipstick isn’t designed to last 12+ hours without feeling a little….weird. If you’re getting married and want your lips to last all day, have the lipstick with you and touch it up as and when you need it. Before photos and after your meal will suffice. By the time the music/band starts to play, I promise you – you won’t care!
If it wears off you can kiss with abandon!
IF YOU LOVED THESE LIPSTICK TIPS PIN THEM TO YOUR PINTEREST BOARDS
If you loved these lipstick tips you may also like;
The Perfect Wedding Skincare Routine
Our Favourite Vegan Lipsticks & Makeup Advice From Industry Pros

